The interior painting process follows a set order. You plan the job and protect the room. Then you get the surfaces ready and prime where the wall needs it. After that, you paint the ceiling first. Trim comes next, and walls come last. Then you inspect. Order matters. Drips fall downward, and edges need care before the big areas get rolled.
Technique matters just as much. Even coverage depends on how you load the paint and blend it. Get either one wrong, and you spend hours fixing patchy spots and lap marks by hand. This guide walks through each stage, from room setup to the final check. It starts with the choices you make before the first lid comes off.
What Happens Before Interior House Painting Begins?
Start by deciding exactly what’s getting painted. Just the walls? Or the ceiling, doors, window trim, and baseboards too? If nobody writes it down, something gets skipped, and you end up arguing about it halfway through the job. A simple list of rooms and surfaces heads that off. It’s the primary step in any interior house painting project.
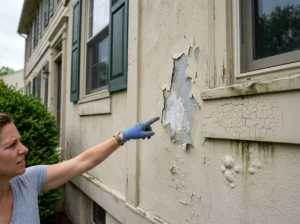
Next, walk each room in daylight and look at the walls up close. Water stains, hairline cracks, peeling spots, and old patches from past repairs all change the plan. You’ll find them now or after the paint dries.
Pick the color and sheen at this stage too. Glossier finishes show every dent and roller mark, while flat paint hides them better.
Last, sort out the practical stuff:
- Where the paint, tools, and drop cloths will sit
- Which furniture is coming out of the room
- When and how painters can get into the house
How to Get the Room Ready Without Creating Extra Work
Proper preparation helps prevent problems that could take extra time to fix later. The steps below keep your furniture and floors safe. They also get your walls clean and ready to hold paint well.
Clear the Work Area and Protect Belongings
Move out whatever you can carry. Push the rest to the center of the room and cover it so splatter cannot reach it. Lay drop cloths across the floor. Overlap the seams so no gap shows. Run painter’s tape along the baseboards and window frames. Press it down firmly. That makes paint less likely to creep underneath. Good protection keeps the space easy to work in and cuts down on stray splashes.
Prepare the Walls for Paint Application
Check every wall for damage you can see. Wipe off dust and grease so the paint can grip. Fill small defects like nail holes and let them dry. Bigger cracks and peeling areas need more than a quick patch. The goal of interior paint preparation is a clean and sound surface that suits your coating. Some walls will need primer too.
Do Interior Walls Always Need a Primer?
No. Plenty of walls in good shape can take finish paint straight on. The primer is for the problem spots.
Bare drywall is the classic case. So are repainted areas, which soak up paint differently from the wall around them and can show up as dull blotches once the finish dries. Stains are another. Water marks and smoke stains can bleed through regular paint, and a big jump from dark to light can leave the color streaky.
Primer and finish paint do different jobs. Primer seals the surface and gives the paint something to hold. Finishing paint brings the color and sheen. Check the label on both cans for what the manufacturer recommends. If you do prime, let it dry for the full time listed before you roll on the finish coat.
How Should You Sequence the Steps When Painting a Room?
Work from the top down. Splatter and drips fall, so upper surfaces go first, and lower ones go last. In the room painting process, this order protects the work you already finished. It also lets later passes cover small edge mistakes. Here is a typical sequence that works for most rooms:
- Ceiling painting first, so splatter lands on walls that still need paint.
- Trim painting and doors next, when included. Wall paint can tidy small overlaps later.
- Walls are third, blended up to the ceiling and trim lines.
- Touch-ups and inspection once everything has dried.
This is a common default. It is not a law. Project conditions can change the sequence. So can coating instructions and drying times. Adjust the order when the job calls for it and check the product label before you start. A painter looks at the room before selecting which surfaces to paint first and how to safeguard the finished areas.
How to Paint Ceilings, Trim, and Interior Walls
Now the real painting starts. Each surface needs its own tools and its own touch. Below you’ll see how to handle the ceiling and trim before moving on to the walls.
Start With the Ceiling and Its Edges
Start by cutting in the ceiling edges with a paintbrush. Cutting in means painting a careful band along corners and edges. These edges are difficult to paint with a roller alone. Next, roll the open ceiling in small sections. Do it while the brushed edge is still wet so the two blend together. Watch for missed spots. Watch for paint piling up too.
Paint Trim and Doors With Controlled Brushwork
Choose a brush that suits the trim and the coating. Dip only the bottom third of the bristles. Overloaded bristles cause drips. They also leave heavy buildup in corners and around detail work. Brush with the grain. Then go back and recheck the corners for runs. Let the coating dry enough before you paint any surface next to it.
Use Cutting In and Rolling for Interior Wall Painting
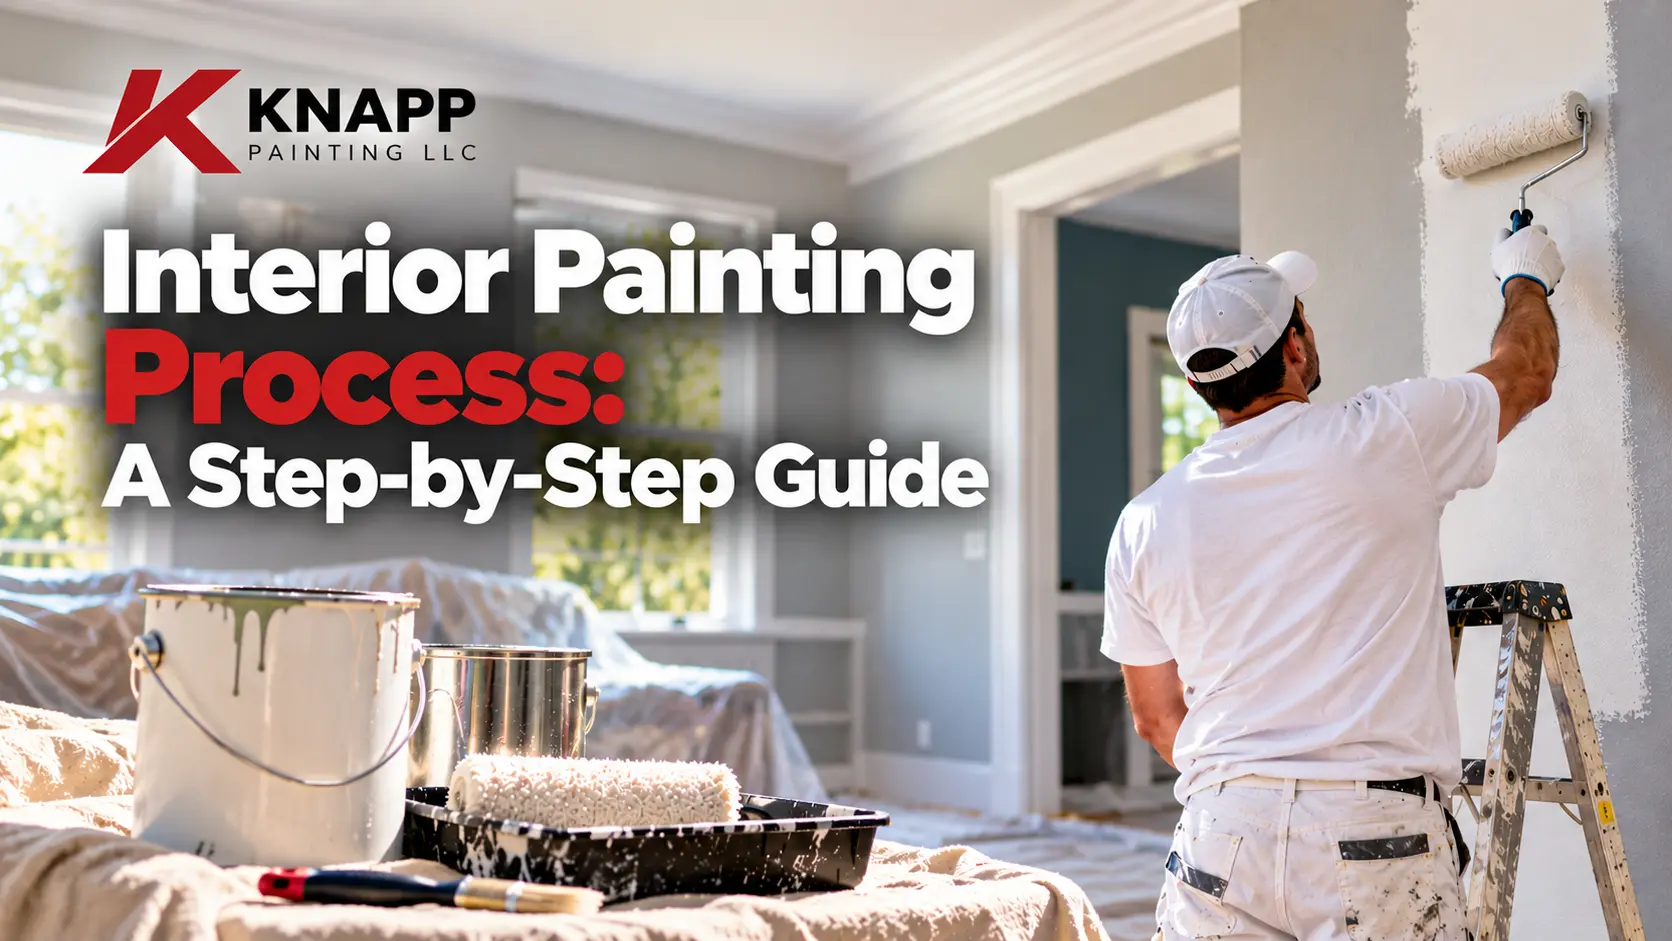
Cut in around corners and windows with a paintbrush. Do the same around doors and trim. When painting interior walls, keep each band narrow. The roller handles the rest. To load the paint roller, dip it in the tray. Roll it along the ramp until it is evenly coated but not dripping. Too much paint causes drips. Too little leaves streaks.
Roll one section a few feet wide at a time. Overlap each pass slightly. Keep a wet edge by rolling new paint into the last section while it’s still workable. Paint that dries before you blend it will show up later as a lap mark. Use steady pressure. Press too hard and you get ridges. Press too lightly and you get thin patches.
How to Apply a Second Coat for Even Paint Coverage
The first coat can look patchy. That happens a lot over a darker color or fresh repairs. Let the paint dry for the time the manufacturer lists before you recoat. Then check the wall in good light. Look for thin spots and missed patches. Look for uneven paint coverage as well. If the surface and paint need it, apply a second coat.
Apply it the same way as the first. Light and even passes help smooth out roller marks. Don’t go back over paint that has started to dry. Overworking it can leave streaks. Keep in mind that two coats aren’t a promise. The color and the surface both change the result. Some walls look perfect after two coats. Others need more.
How to Check the Finish and Clean Up After Painting
Don’t put the brushes away just yet. A quick final check catches small flaws while touch-ups are still easy. Then you can clean up and give the room back to your family.
Inspect the Painted Surfaces
Check every surface in good light. Don’t skip the corners and edges. That’s where problems like to hide. Look for missed patches and drips. Look for splashes on trim or floors. Watch for roller marks you can still see. A flashlight held at a low angle helps here. Touch up any problems as the coating instructions allow.
Remove Tape and Restore the Room
Remove painter’s tape the way the product instructions say. Watch the paint film as you go. Pull too early, and you can smear soft paint. Wait too long, and the dried edge may tear. Lift the coverings with care. Clean or store your tools. Bring the furniture back once the finish can handle it. Dry to the touch is not the same as fully cured. Treat fresh paint gently for a while.
When Is Professional Interior Painting Worth Considering?
Some jobs outgrow a weekend project. Think about several connected rooms or detailed trim. Heavy wall repairs count too. Each one adds steps and drying times to juggle. Professional painters can plan the prep and the painting around those drying times. Each stage starts when the last one is ready. A painter can also spot surface problems early, before they show through new paint.
Hiring help also makes sense if you can’t comfortably handle the work yourself. Maybe ladders make you uneasy. Maybe your schedule has no room for a multi-day project. Knapp Painting LLC offers professional interior wall painting services for homeowners who want that coordination handled for them.
Frequently Asked Questions About Interior Painting
How long does the interior painting process take?
It depends on room size and surface condition. Repair needs matter too. So do the number of coats and the drying time between steps. A small room with sound walls moves faster than several rooms that need patching and primer. A realistic timeline comes from looking at the actual space. That’s why a walk-through comes before any firm schedule.
Should you paint the ceiling or walls first?
Ceilings usually come first. Drips and splatter fall downward. Painting the ceiling first keeps those drips off finished walls. It also lets the wall paint cover small edge fixes along the top line. Some projects allow a different order. Some coating instructions do too. When in doubt, follow the product directions on the can.
How many coats of interior paint are usually needed?
Two coats are common. The real count depends on the paint and the surface. The old color and the new color matter too. Always check the manufacturer’s guidance first. A refresh in a similar shade may need fewer coats. A dramatic color change may need more. Going from deep red to soft white is a good example.
Understanding the Interior Painting Process From Start to Finish
A clean finish comes from doing each stage in order. Plan the scope and protect the room. Get the surfaces ready and prime where needed. Paint in the right sequence. Add coats as the job requires, then inspect before you call it done. Knapp Painting LLC provides interior wall painting services in Cleveland, Ohio, and the surrounding communities. Reach out to talk through your interior painting project or call (567) 274-2211 for more information.