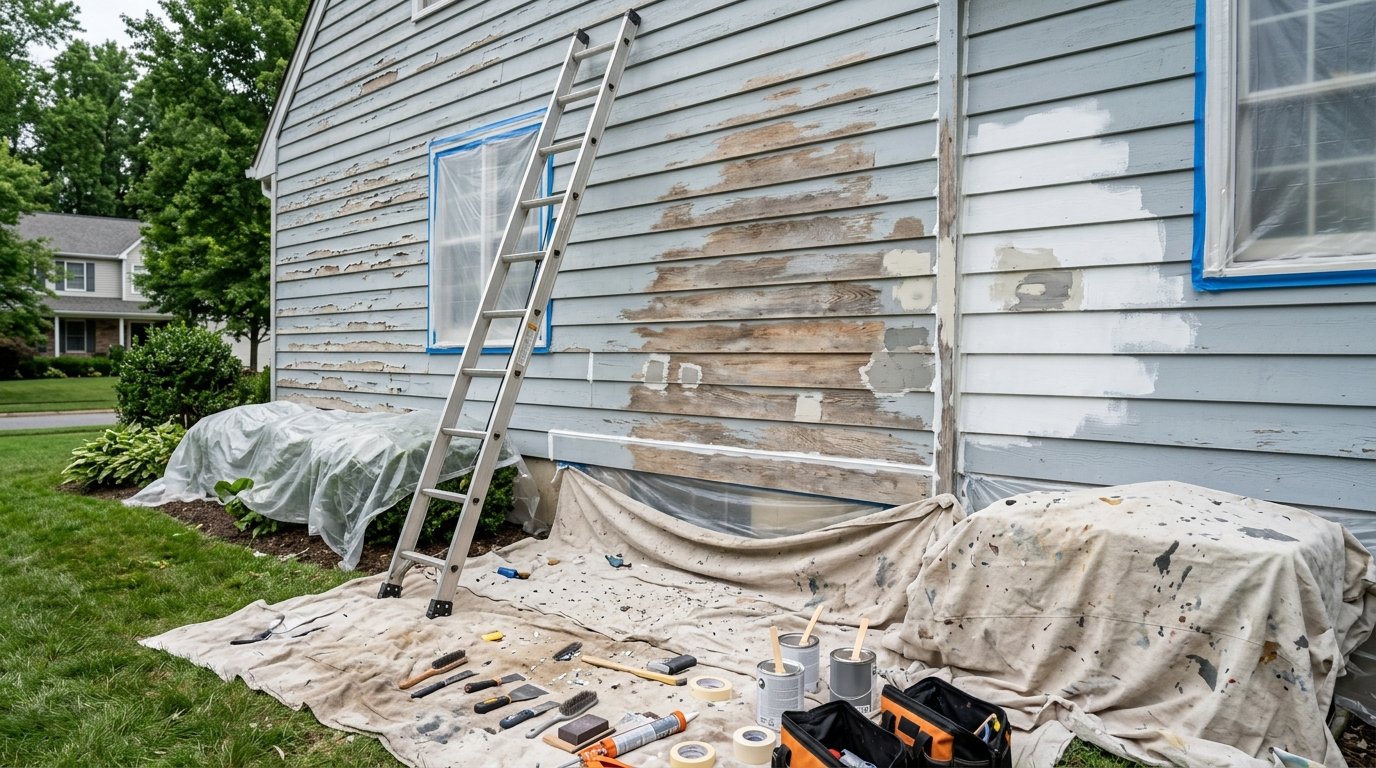
Picture the side of your house that takes the most sun. The paint there has started to flake, a couple of trim joints have opened, and you’re wondering if a good wash and two coats will be enough. That question is where house painting preparation really begins for most homeowners. New paint can only grip the surface beneath it, so planning the prep before you open a can matters. It helps you catch repairs early, leave enough time for drying, and work in an order where one step never undoes another. The plan starts with a slow walk around the house.
Step 1: Inspect the House Before Planning the Work
Walk through all areas to be painted before purchasing supplies and make notes or photographs. Record the nature of each surface (whether inside or outside and what it is made of). Older painted surfaces, wood siding, trim, brick, and stucco may require different preparation, so sorting early will help.
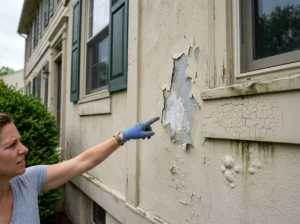
Then inspect each area to determine if peeling paint or cracks, stains, mildew, or soft wood under a screwdriver tip are present. When rubbing a dark-colored cloth over older exterior paint, it should not chalk; it should be a powdery film that needs to be washed. If the damage is gathered under one gutter, it is most likely water.
Even before any work begins, there are some conditions that require a professional opinion, such as an active leak or rot beyond a small patch, or wide or expanding cracks. Older paint layers may also contain lead if the house was built prior to 1978, affecting how they should be handled.
Step 2: Protect the Area Before Preparing a House for Painting
Doing both cleaning and scraping will create a mess, so first create the protection. Indoors, move or cover furniture and take off switch plates. Canvas drop cloths are great for floors—they remain in place, absorb the drips, and will not slide. Plastic sheeting is slippery and will slide.
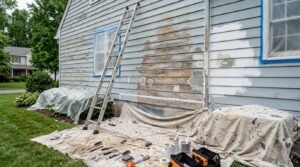
Outside, cover nearby plants, walkways, and light fixtures, move patio furniture, and park cars away from the house. Painter’s tape protects edges and hardware, but it can’t make up for poor prep. When using a ladder, set it on firm, level ground away from power lines, and move it instead of leaning out.
Step 3: Match the Cleaning Method to the Surface
All dirt, cobwebs, and mildew must be removed first before it can be trapped under the new coat. A soft brush and a cleaning solution that is appropriate for the surface are preferred for these types of surfaces, such as interior walls, delicate trim, and weathered wood. Rinse thoroughly after use to remove any residue.
A pressure washer will work on the sound exterior surface materials, but excessive pressure can gouge soft wood, erode mortar, and drive water behind siding. All that most houses require is a hose and a scrub brush. In either case, make sure to allow it to dry completely; add an additional day or two to your outside painting preparation timeline for shade and humidity.
Step 4: Decide What Needs Removal, Repair, or Smoothing
Run a paint scraper over the problem areas you noted. Paint that lifts or flakes easily should come off, but firmly stuck paint can generally stay. Then lightly sand the edges around bare spots, using a fine sanding block on drywall patches, sanding wood with the grain, and brushing masonry instead.
| Safety note: If your home was built before 1978, treat the older paint as if it may contain lead until testing shows otherwise. Avoid dry sanding, dry scraping, power sanding, and pressure washing on those surfaces until they have been assessed and EPA lead-safe work practices are in place. |
Small nail holes and hairline drywall cracks can be filled with a putty knife and patching compound. Damaged trim, rotted wood, and crumbling masonry are bigger jobs that may need replacement or a specialist. Filler only hides a problem, so a crack that keeps reopening needs its cause fixed first.
Step 5: Prepare Different Materials for Paint
Preparing Wood Siding and Trim
Wood holds paint best when it’s solid, dry, and free of loose coating. Small soft spots may take an exterior wood filler, but larger rotted areas usually need new boards. Bare wood shouldn’t wait long for primer, since USDA Forest Products Laboratory research found about two weeks of weathering can weaken paint’s bond to it.
Preparing Masonry and Previously Painted Walls
Brick, stucco, and concrete block need to be solid, clean, and dry enough for your chosen coating. New masonry and fresh stucco patches need time to cure, and the coating maker’s instructions will say how long. White, powdery deposits mean moisture is moving through the wall, and that needs attention first.
On walls painted before, the old coat’s condition sets the workload. Preparing walls for paint might mean only cleaning and filling or dulling a glossy finish so new paint can grip. To test adhesion, press strong tape onto the old paint and pull it off fast. Any flakes on the tape mean more scraping.
Step 6: Seal Suitable Gaps and Prime Where Needed
Caulk is meant for joints that should be closed, like trim seams and gaps around window and door casings. Use a paintable caulk rated for the location and let it cure as directed. Leave the bottom edges of lap siding open so moisture can pass through, and never use caulk to hide rot or a leak.
Primer is often needed on bare wood, patched spots, stains that might bleed through, and some masonry. A sound, painted surface getting a compatible paint may not need it. Choose a primer listed as compatible with your topcoat, and check the caulk label, since some caulks bond better over primer.
Step 7: Check Dryness and Confirm Your House Paint Prep Is Complete
Before opening the first can, go back over the work. Run a clean hand or cloth across a few spots to check for dust and leftover residue. Shaded walls and masonry can stay damp longer than they seem, and a moisture meter reads wood far better than touch.
Confirm fillers and caulk have fully cured per their labels, and revisit the trouble spots from your surface inspection. An unresolved leak or soft board means the house isn’t ready yet. Outdoors, compare the forecast with the paint label’s limits for temperature, humidity, and rain, and leave time for the coat to set before evening dew.
Final Paint-Readiness Checklist
- The surface is clean and fully dry.
- Loose or failing paint has been removed.
- Repairs are finished and fully cured.
- Dust and cleaning residue are gone.
- Caulk and primer are in place and ready for paint.
- Weather and surface conditions match the paint label.
Frequently Asked Questions
How can I tell if my house needs more than basic preparation?
A few nail holes or small patches of flaking paint usually call for routine prep. Deeper work is likely if paint is failing through several layers, large areas are bare, boards feel soft, or cracks keep widening. A spot that failed soon after the last paint job may also signal a moisture problem.
How long can a prepared surface sit before it’s painted?
Ideally not long, so work in sections you can prime and paint soon after prepping, especially bare wood. If several days pass, clear off settled dust and pollen and recheck for moisture. Primer labels also list a recoat window and what to do if you miss it.
How do I find out if older paint contains lead?
Homes built before 1978 are the main concern. EPA-recognized test kits can screen painted surfaces, but their accuracy depends on using them correctly. A certified lead inspector or risk assessor can give a more reliable answer. The EPA also offers an online locator for finding certified lead professionals in your area.
Getting Your House Ready for Paint That Holds Up
A paint job that lasts depends on work done long before the first coat goes on. Careful planning, prep matched to each surface, and a final readiness check all give new paint a clean, sound base. That base is what helps it bond well and hold up over time.
Knapp Painting LLC is a locally owned, licensed, and insured painting company in Cleveland, OH, serving Lakewood, Parma, Cleveland Heights, University Heights, Mentor (Lake County), and the Greater Cleveland area. Its exterior house painting service starts with inspection and preparation, including cleaning, scraping, wood and siding repairs, caulking, and priming. It also offers interior wall painting and drywall repair.
If you’d like help deciding how much prep your project needs, you can call Knapp Painting LLC at 567-274-2211 or send a message through the contact page. The team can talk through the work with you and put together a free, no-obligation estimate for your home.