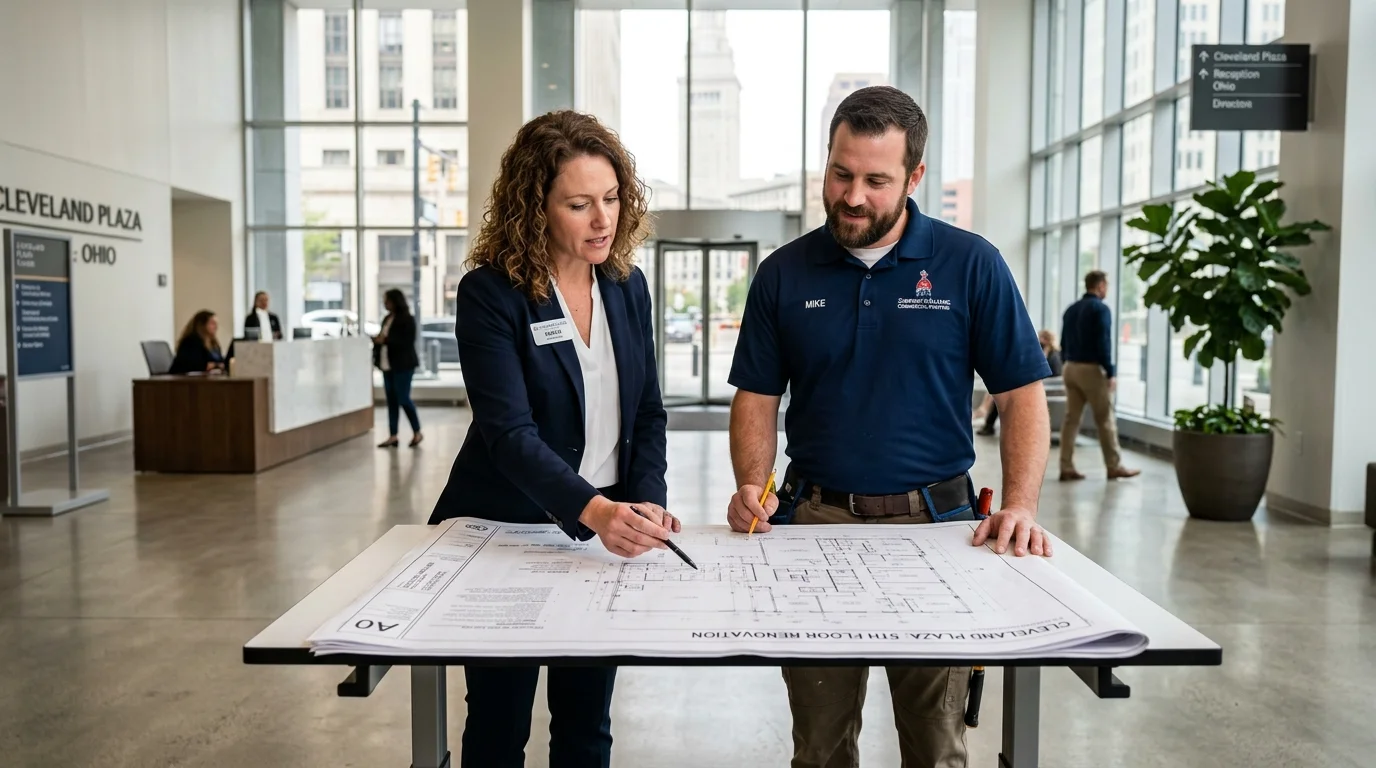
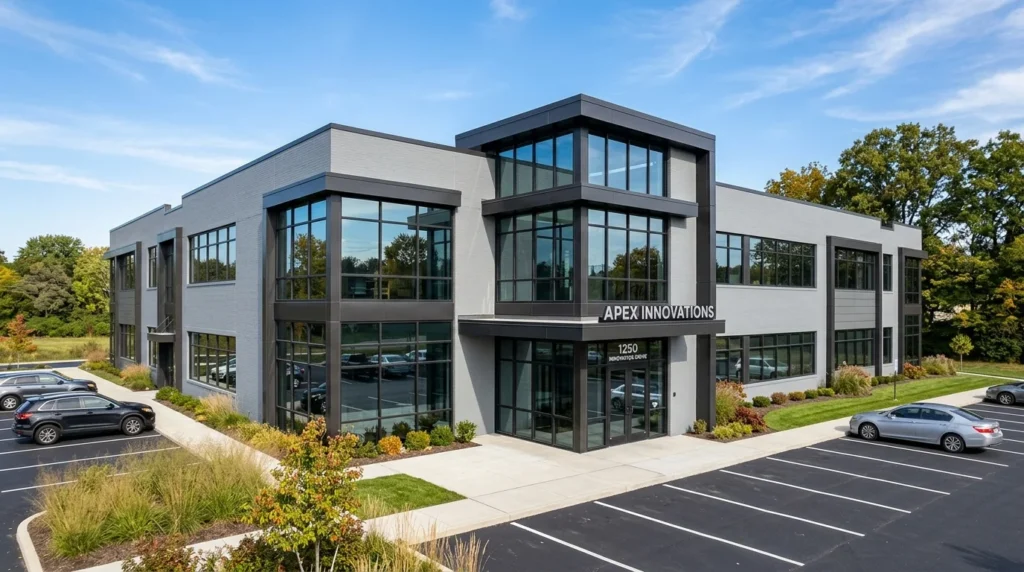
Commercial painting in Cleveland should start with a clear plan. The plan should show what will be painted, what repairs are needed, and when the work will take place. It should also explain how people, equipment, stock, floors, and nearby surfaces will be protected.
A commercial project can be more complex than painting a home. An office may need quiet work after business hours, while a store may need to stay open during the day. A warehouse may need lifts, traffic control, and safe work zones around stored goods.
This guide explains how to plan the work, build a budget, reduce delays, and compare bids. It also covers the needs of offices, stores, warehouses, medical sites, schools, apartment buildings, and other commercial properties.
Businesses that are ready to discuss a project can review Knapp Painting’s commercial painting services.
How Should a Business Plan a Commercial Painting Project?
A good plan begins with the exact areas that need work. A request such as “paint the office” is too broad because it does not explain which rooms or surfaces are included.
A clear scope may name the lobby, halls, private offices, meeting rooms, restrooms, doors, frames, ceilings, and trim. An exterior scope may include brick walls, metal doors, railings, canopies, loading areas, and entrances.
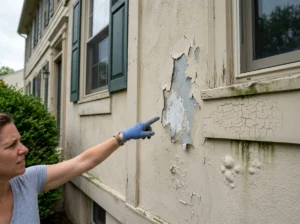
The next step is to check the condition of each surface. Drywall may have dents, cracks, stains, or loose tape. Masonry may have moisture or peeling paint, while metal may have rust or failed coatings.
These problems should be found before the final price is set. Paint can improve a sound surface, but it cannot repair an active leak, weak drywall, deep rust, or loose material below the coating.
The plan should also cover access and working hours. The contractor needs to know which rooms can close, where materials can be stored, and which areas must stay open.
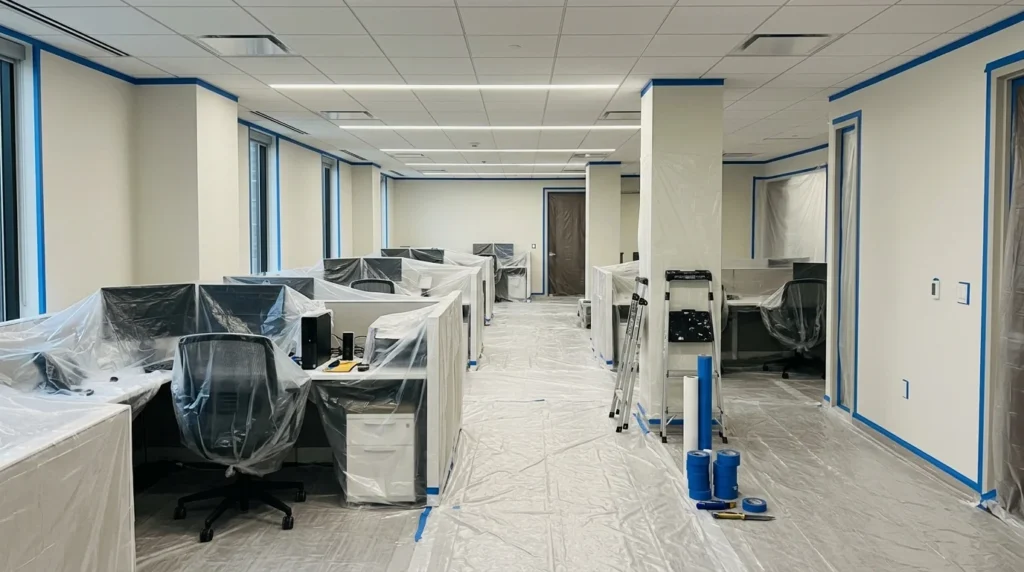
Protection, cleanup, noise, dust, odors, and drying time should be discussed as well. These details are important when staff, tenants, customers, or visitors will remain in the building.
Who Should Take Part in the Planning?
Commercial painting often affects more people than the person who approves the bid. The property manager may control access, while the facility manager may know which rooms can close and when.
Security staff may need worker names or entry times. Cleaning teams, maintenance workers, tenants, and building engineers may also need to change their normal schedule.
Choose one person to serve as the main project contact. This person should be able to answer questions, share updates, and approve small changes when needed.
For a larger job, hold a short site meeting before work starts. Walk through the building and review the work areas, entrances, storage spaces, alarms, restrooms, loading zones, and emergency paths.
This meeting can prevent delays once the crew arrives. It also gives each person a clear idea of what will happen and when.
What Should the Scope of Work Include?
The scope of work should explain what the contractor will do and what the finished project should include. It should name the surfaces, repairs, cleaning, preparation, primer, paint, protection, and cleanup.
The scope should also state who will move desks, signs, stock, shelves, wall items, and equipment. These tasks can cause delays when they are not assigned before the project starts.
For interior work, the scope may cover drywall, concrete block, ceilings, doors, frames, trim, or exposed structure. For exterior work, it may include masonry, siding, metal, doors, railings, trim, and loading areas.
Repair work should not be hidden under a broad phrase such as “normal preparation.” Small nail holes are not the same as broken drywall, loose paint, water stains, damaged masonry, or rust.
The planned number of coats should also be clear. A strong color change may need more work than a wall that is being painted in a similar shade.
A clear scope makes it easier to compare bids and control added costs. It also helps the contractor plan labor, materials, equipment, and work hours.
For indoor wall projects, review Knapp Painting’s commercial interior wall painting service. Exterior property needs are covered on the exterior building painting page.
What Affects Commercial Painting Costs?
The price of a commercial painting project depends on the amount and type of work. The total floor size of the building does not provide enough information by itself.
Wall height, ceilings, doors, windows, columns, trim, and small detailed areas all affect labor. Tall walls and open ceilings may also need lifts, scaffolds, or other access equipment.
Surface condition can have an even larger effect on cost. Cleaning a sound wall is simple, while repairing drywall, removing loose paint, treating rust, or washing dirty warehouse walls takes more time.
The schedule may also change the price. Daytime work can be easier to plan, but night, weekend, or holiday work may need added staff, lighting, security, and site support.
A phased schedule can help the building stay open during the project. However, each phase may need a new setup, protection plan, cleanup, and inspection.
The type of paint or coating also matters. An office wall does not need the same system as a loading area, wet room, concrete floor, or steel surface.
Other cost factors may include furniture movement, floor protection, sample areas, color changes, lift use, parking, waste removal, and final touch-ups. A useful estimate should connect each charge to a clear part of the project.
How Can a Business Build a Realistic Budget?
Start with the areas that truly need work. A business with a limited budget may first paint entrances, customer areas, damaged walls, and surfaces that are no longer well protected.
Lower-use rooms can be moved to a later phase. This allows the business to control spending without cutting important preparation from the main project.
Ask the contractor to price added items on their own. For example, the main bid may cover the walls, while ceilings, doors, frames, or extra rooms are shown as separate options.
This makes it easier to adjust the scope. It also prevents important repair or preparation work from being removed just to reach a lower total.
The budget should allow for damage that cannot be fully seen during the first visit. A stain may hide a larger drywall problem, and rust may spread past the visible area.
The estimate should explain how added work will be priced and approved. Repairs outside the agreed scope should not begin without a clear change order.
There is no safe fixed price for every Cleveland building. The final cost should be based on the property, the surface condition, the work schedule, and a written scope.
How Can Painting Disruption Be Reduced?
The best way to reduce disruption is to divide the work into smaller zones. An office may be painted by floor, hall, department, or group of rooms.
A store may be painted after closing, while an apartment building may keep one stairway or hall open as another section is completed. Each work zone should have a clear start time, finish time, and reopening plan.
Staff and tenants should know which areas are closed. They should also know where they can walk, work, or store items while painting is underway.
Furniture and equipment should be moved before the crew reaches the room. Items that cannot be moved should be covered and kept away from the active work area.
Noise and dust need planning too. Scraping, sanding, patching, and equipment movement can affect nearby workers even when the paint has little odor.
Ventilation should be discussed before indoor work begins. Product labels and technical data sheets should guide drying, curing, fresh-air needs, and the time before a room can return to use.
A low-VOC product may help in some occupied buildings, but that label should not be the only reason for choosing paint. The coating must also fit the surface, cleaning needs, room use, and required finish.
Paint may feel dry before it is ready for furniture, strong cleaning, or heavy contact. The reopening time should follow the instructions for the exact product used.
What Work Schedule Is Best?
There is no single schedule that works for every commercial property. The right choice depends on the building’s hours, security needs, room use, and the time needed for the coating to dry.
Daytime painting may work well in empty units or areas that can close. It gives the crew easy access to managers, power, lighting, water, and building systems.
After-hours work may be better for offices, stores, and public spaces. It can reduce contact with staff and customers, but the building still needs safe entry, lighting, security, and ventilation.
Weekend work may give the paint more time to dry before the building becomes busy again. The schedule must still match the product’s drying and curing time.
A phased schedule is often useful in large or occupied buildings. The crew completes one zone while the rest of the property stays open.
This approach can lower downtime, but it requires clear updates. Each phase may also need a new setup, protection plan, cleanup, and walkthrough.
Exterior work must fit the weather as well. Cleveland has rain, snow, warm summers, cold winters, and quick changes in temperature.
Air temperature is only one part of the decision. Surface temperature, moisture, rain, wind, and overnight conditions also matter.
The final schedule should follow the product data sheet. Painting should be delayed when the surface or weather does not meet those limits.
How Should Office Painting Be Planned?
Office painting should support the way the space is used. Public areas may need more care because clients and visitors see them, while private offices may be easier to complete in small groups.
The contractor should know when calls, meetings, or other quiet work takes place. Loud preparation work may need to happen before or after those times.
The paint finish should match the level of use. A private office may have light wall contact, but a hall, break room, or reception area may need a finish that is easier to clean.
Colors should work with the lighting, furniture, floors, signs, and brand style. A sample area can help the business see how a color looks during the day and under indoor lights.
The goal is not to claim that one paint color will improve every worker’s mood or output. The goal is to create a clean, useful space that fits the business and is easy to maintain.
Desks, computers, alarms, screens, and security devices should be part of the protection plan. Knapp Painting’s office painting page explains this type of work.
What Do Stores and Retail Spaces Need?
Retail painting must protect customers, products, and daily sales. Inside the store, work may be divided by room, wall, aisle, or department.
Stock should be moved or covered before the crew begins. Materials and tools should not block exits, checkout areas, or paths used by customers.
Wet paint areas must also be kept away from visitors. Signs or temporary barriers may be needed until the coating is ready for normal use.
Storefront painting requires added care. Windows, doors, signs, brick, sidewalks, lights, and nearby cars may all need protection.
The business may need approval from the property owner before changing an outside color. Sign rules, lease terms, and property standards should be checked before work begins.
Closed hours are often the easiest time to paint a retail space. Short work phases may also help the store remain open.
The plan should explain how the area will be cleaned and made ready before customers return. It should also state who will inspect each section before it reopens.
What Do Warehouses Need?
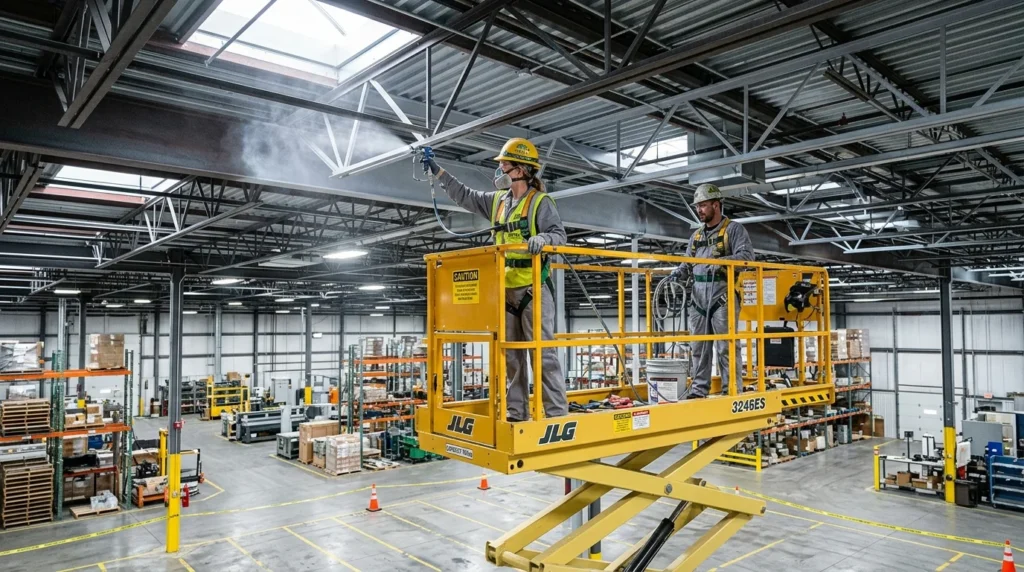
Warehouse painting should begin with the way people, goods, and vehicles move through the building. Forklift lanes, loading areas, racks, stored products, charging stations, and work cells can all limit access.
A wall may look open but still be part of a busy traffic path. The contractor and facility team should mark work zones before equipment is moved into place.
Warehouse walls and ceilings may have dust, oil, dirt, marks, or old coatings. Drywall, concrete block, metal, and exposed ceilings may each need a different cleaning and paint system.
Tall walls and ceilings may require scissor lifts. Lift work needs trained workers, equipment checks, and a clear area around the machine.
The plan should explain how people and vehicles will stay away from the lift. It should also account for pipes, beams, doors, lights, and other objects above the work area.
Strong air movement may carry dust or paint spray. Nearby stock and equipment may need full covers or a separate enclosed work zone.
The business and contractor should agree on who will move goods, stop traffic, guide equipment, and reopen each area. Knapp Painting’s warehouse painting page covers direct service needs for these properties.
What Do Medical, School, and Public Buildings Need?
These buildings need close planning because many people use them. The facility team should name sensitive rooms, busy times, emergency paths, and areas that cannot close without notice.
Product choice should match the building’s rules and the surface. Low-odor or lower-emitting paint may be useful, but durability, cleaning, drying, and ventilation still matter.
Medical buildings may have their own rules for access, dust, cleaning, and room use. A painting contractor should not make health or infection-control claims without clear product documents and facility guidance.
Schools may need painting during breaks, weekends, or low-use hours. Work zones should remain away from students and staff until the area is ready to reopen.
Public buildings also need signs and safe paths around closed areas. Emergency exits, alarms, and fire equipment must remain clear.
The facility manager should approve the products, schedule, protection plan, and reopening time. This approval should happen before preparation or painting begins.
How Should Apartment and Managed Properties Be Painted?
Managed properties may involve owners, managers, tenants, maintenance staff, and other vendors. Clear notice is important because common areas often need to stay open.
Halls, stairs, lobbies, laundry rooms, and entrances may need to be painted in sections. Residents should know when work will happen, which areas will close, and when painted surfaces can be touched.
Vacant units are easier to schedule, but the scope must still be clear. It should state whether walls, ceilings, doors, trim, closets, and repairs are included.
Occupied units need clear access rules. The owner or manager should explain who will move personal items and how much room the painters need.
A standard set of colors and products can make future repairs easier. The property manager should keep a record of the colors, finishes, products, and dates used.
These records can help different crews match the work later. They can also make future budgets and maintenance plans easier to build.
Which Paint or Coating Fits Each Facility?
The right paint system depends on the surface and the type of wear it receives. Office drywall may need a clean finish that supports normal washing, while busy halls and break rooms may need more stain and scrub resistance.
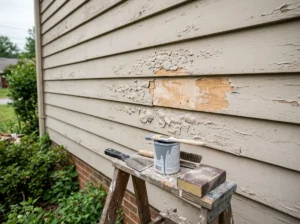
Exterior masonry should be checked for cracks, loose paint, and moisture. The coating should fit the wall and the way it handles water.
Metal surfaces may need rust removal and a suitable primer. Paint should not be used to hide active rust or damaged steel.
Warehouse walls may need a stronger finish than office walls. Concrete floors may need a system chosen for traffic, moisture, chemicals, cleaning, and downtime.
An epoxy floor is not right for every building. The floor should first be checked for cracks, moisture, old coatings, and surface damage.
Knapp Painting’s epoxy floor coating page explains direct service options. The final system should still be based on the real floor and the work done in that space.
Parking garages face moisture, dirt, vehicles, road salt, and outside air. Walls, ceilings, markings, steel, and concrete may each need a different product.
See the parking garage painting page for this type of work. A site review can help define which parts need normal paint and which need a more technical coating.
Structural steel, tanks, high heat, and strong chemical exposure may need an industrial plan. These projects should be reviewed under industrial painting services.
What Should Be Included in a Commercial Painting Bid?
A bid should make the full plan easy to understand. It should allow the business to compare the same work between different contractors.
The bid should explain:
- The rooms, walls, and exterior areas included.
- The cleaning, repairs, and surface preparation.
- The primer, paint, finish, and number of coats.
- The protection, access equipment, and working hours.
- The cleanup, exclusions, payment terms, and change-order process.
The bid should also state who will move furniture, stock, signs, and equipment. These tasks should not be left unclear until the first day of work.
For an occupied building, look for a work-zone plan and a daily cleanup standard. The document should explain how staff, tenants, and customers will be kept away from active work and wet paint.
Ask for product data sheets when drying, odor, cleaning, chemicals, moisture, or reopening time matters. These documents can help the building team understand how the selected coating should be used.
A bid does not need to use hard technical words. It should be clear enough that both sides understand the same project.
How Should a Business Compare Contractors?
Start with experience that fits the property. An office project is different from a warehouse, parking garage, floor coating, medical space, or tall exterior.
Ask each contractor how the surfaces will be prepared. Also ask how the crew will protect the property, control access, and keep the work on schedule.
The answers should match the real site. Broad promises such as “full prep” or “premium paint” are not enough without a clear scope.
Insurance, worker training, and equipment plans should be checked before the project begins. Any license, safety record, certification, or special skill should be verified.
References are more useful when they come from similar projects. Ask whether the contractor gave clear updates, handled changes fairly, and kept the work area clean.
Businesses comparing commercial painting contractors in Cleveland should compare the full scope before comparing the final price. A lower total may only mean that less preparation, protection, or repair work is included.
Companies searching for Cleveland commercial painters should also ask who will manage the project. They should know who will respond when a site issue or schedule change comes up.
How Long Does Commercial Paint Last?
There is no fixed lifespan for every commercial coating. The amount of traffic, cleaning, moisture, sunlight, and contact can be very different from one area to another.
A quiet office ceiling may have little wear. A hallway wall may be touched and cleaned each day, while a warehouse wall may be hit by carts, pallets, and equipment.
Exterior surfaces face rain, snow, sunlight, moisture, and freeze-thaw changes. These conditions may cause one side of a building to age faster than another.
Preparation and paint choice also affect how long the finish stays sound. Moisture, weak repairs, or the wrong product can shorten the maintenance cycle.
Instead of using one set number, inspect the building on a regular schedule. Look for stains, fading, cracks, rust, peeling, open joints, or areas that no longer clean well.
Small touch-ups may work when the old coating is still firm. Wide peeling, rust, or moisture needs a closer review before new paint is added.
Keep a record of the products, colors, repairs, and completion dates. This can make the next maintenance project easier to plan and price.
What Happens During a Commercial Painting Project?
The project usually moves through planning, preparation, painting, inspection, and closeout. Each stage should follow the written scope and site schedule.
Before work begins, the contractor confirms the areas, colors, products, access, and protection plan. The building contact should also share security rules, alarm details, parking limits, and tenant needs.
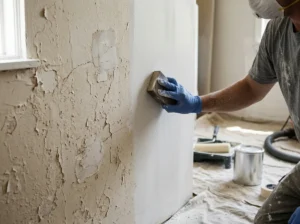
Preparation may include cleaning, patching, scraping, sanding, caulking, masking, rust treatment, and primer. The work completed should match the preparation described in the bid.
Painting may happen in sections so the rest of the building can stay open. At the end of each work period, the crew should leave the area in the agreed condition.
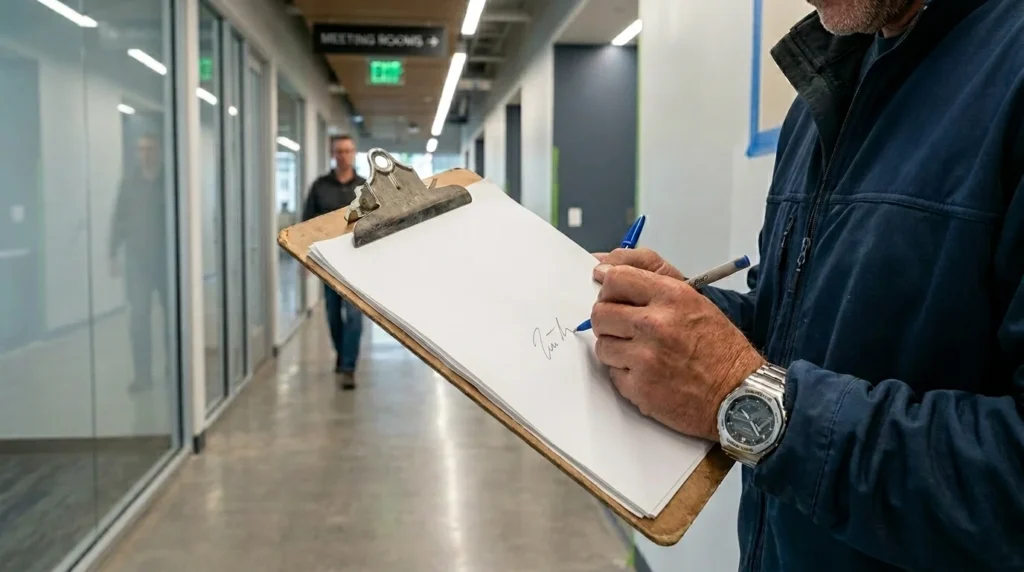
The final walkthrough should compare the completed work with the original scope. Missed spots, touch-ups, or added repairs should be written down and assigned.
The owner should receive the final color and product details. Approved change orders and any written warranty terms should also be saved with the project records.
Frequently Asked Questions
How should a business plan a commercial painting project?
Start by listing the areas, surfaces, repairs, products, work hours, and protection needs. Choose one site contact and review the plan with the contractor before work begins.
What affects commercial painting cost?
The main factors include paintable area, surface condition, repairs, height, equipment, working hours, protection, phasing, and the type of coating. A site review is usually needed before the full price can be set.
Can painting be done while a business stays open?
Often, yes. The work may be divided into zones or completed after hours, but people must be kept away from active work and wet paint.
Are low-VOC paints always the best choice?
Not always. VOC level is one factor, but the product must also fit the surface, cleaning needs, ventilation, building use, and reopening time.
Which paint is best for a commercial building?
There is no single best product for every property. The paint or coating should match the surface, traffic, moisture, cleaning, weather, and daily use.
What should a commercial painting bid include?
The bid should list the areas, repairs, preparation, primer, coats, products, equipment, protection, schedule, cleanup, exclusions, and payment terms. It should also explain how extra work will be approved.
How often should a commercial building be repainted?
There is no fixed schedule for every building. Each area should be checked based on traffic, cleaning, weather, moisture, damage, and the condition of the old coating.
Plan the Work Before Requesting a Bid
A successful commercial painting project in Cleveland begins with a clear scope and a practical schedule. The plan should cover the surfaces, repairs, access, products, protection, and reopening needs.
For a site review and written project scope, contact Knapp Painting to discuss commercial painting services across Northeast Ohio.