In the busy everyday routine of these days, you do not have time to notice, and suddenly one day you realize that the exterior wood is in a shocking condition. Fret not, one can easily paint it and just as easily redo what you already have. You just need to know how. As we often receive queries on the topic, these are our best pieces of advice on outdoor paint for wood, as well as what to do when maintenance on an existing wood finish is required.
Top Exterior Wood Painting Tips
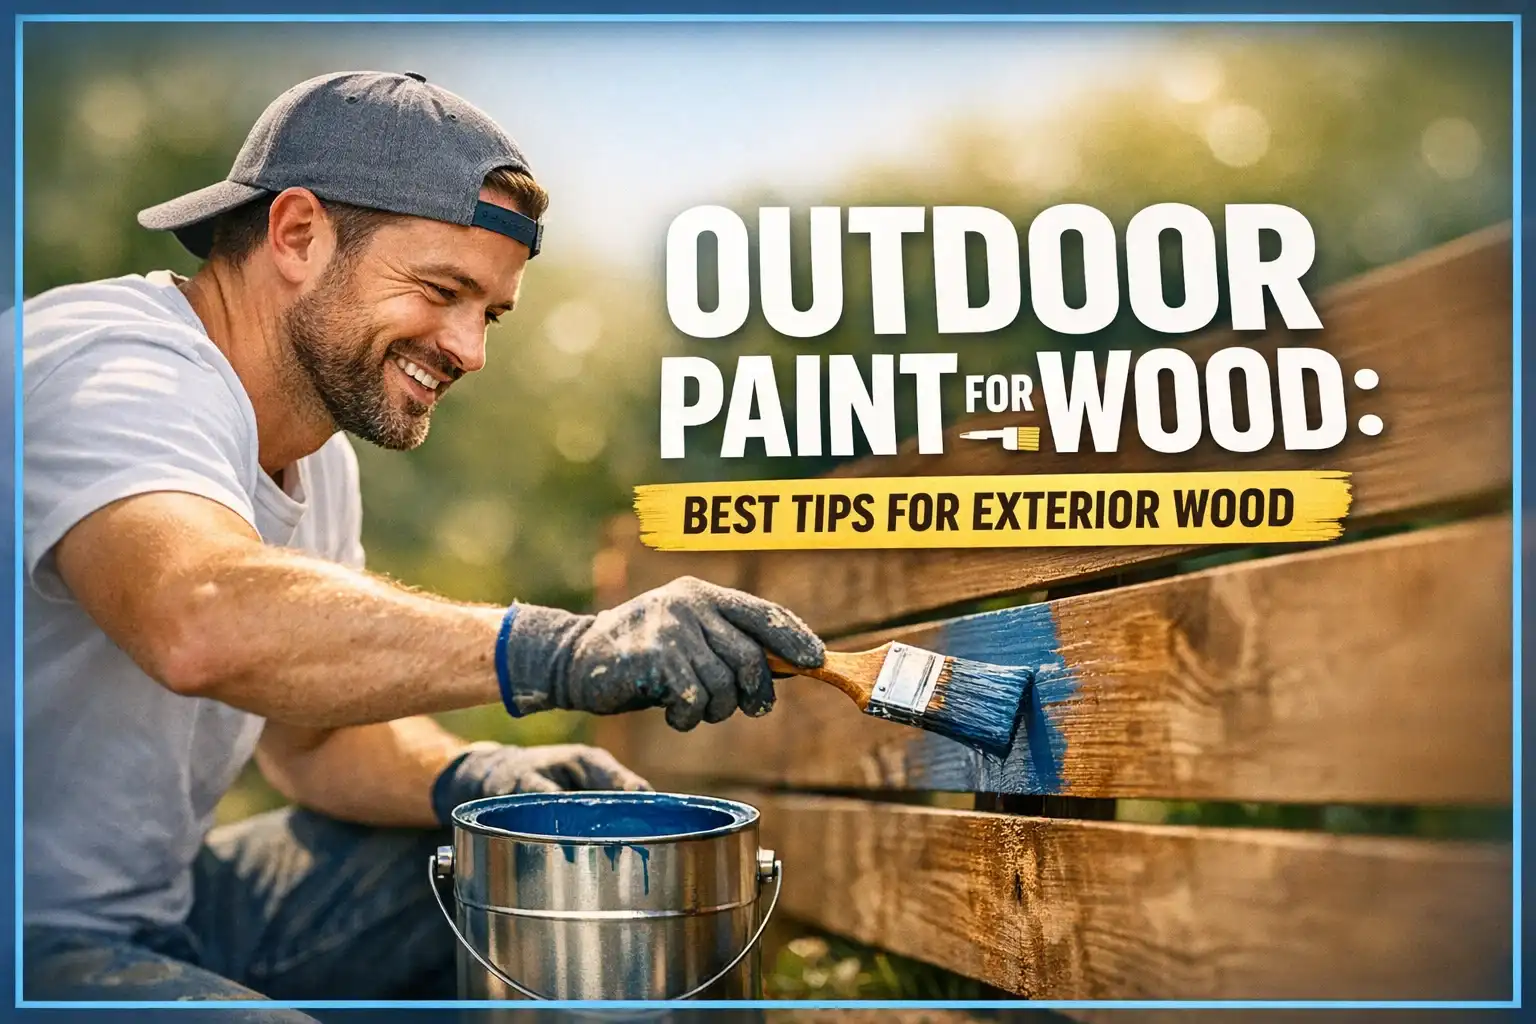
These are the best exterior wood paint tips. Adhere to this painting guide, and you will have a far greater chance of having it right on the first attempt and achieving a long-lasting and beautiful outcome.
- The first thing to do is to check the weather forecast and wait until there is a good dry spell.
- In general terms, the higher the quality of the exterior paints that you purchase, the more durable they will be and the less effort you will have to put into their maintenance.
- Not even once interior paint outside – the job will be terrible, and will appear hideous in a short time.
- Preparation is everything. The more properly you finish the surface, the longer the finish.
- There is no need to take time, money, and effort for painting wood outdoor when the cause of the breakage is not addressed. Address any wet, leaks, or fungus prior to repainting the surface, or the finish will not last.
- It is best not to paint in the late afternoon when the weather is expected to be cool and damp at night. Wait till there comes a dry and warm night on the cards.
- Never ignore the instructions of the manufacturer.
- In painting on extremely humid, cold, or damp days, give the paint time to dry thoroughly.
- Never paint on damp wood
- Do not combine exterior wood paint of one manufacturer with that of another – they all have slightly different formulas and can hardly be mixed.
- Keep in mind that often it is less expensive to purchase a large can of outdoor paint than a number of smaller cans.
- Use good quality primers and undercoats, which are intended to reduce the maintenance. The cheaper you spend, the quicker the finish will begin to wear out.
- It is always good to do the job in a single go to get a clean cut.
- Don’t rush it. Take the right amount of care
- Have paintable windows and doors ready early in the morning so that they can dry in due time, and you may close them at night.
- Always begin at the head and work downwards, and not vice versa.
7 Common Exterior Wood Paint Issues
The exterior paints are used in such a way that they stay long-lasting, yet you would run into trouble someday. These are the most commonly encountered ones, along with their remedies:
- Alligatoring – the surface appears to be lizard-skinned, all flaky. Scrape or heat up with a heat gun to remove all the old paint (be careful not to burn the surface). Sand it, then prime it and repaint the surface.
- Blistering- the surface literally blisters. When the blisters reach the wood level, it is noteworthy that the moisture source should be removed, and then one should repaint. Removal of blisters using a scraper is followed by sanding off the timber. After that, prime bare timber using a high quality primer, after which the top coats are applied.
- Breaking and peeling on several layers of paint – Surface cracking can sometimes be removed by nothing more than scraping off the loose or flaking paint using a scraper or wire brush, sanding the edges, priming the bare areas, and applying your topcoat. When the cracks or flakes are deeper, you will be required to sand, scrape, or use a heat gun, or all three of them, and then prime and repaint.
- Dirt – It can be washed off a lot of times with a scrubbing brush and soapy water, which is sprayed with a garden hose. A power washer may be needed because of heavy dirt. Turn the pressure to a minimum and take a small patch initially. Excessive pressure might end up removing the paint from the wood. The ingrained dirt is hard to remove completely, but when you paint exterior house trim with the best exterior latex paints of top quality, they are effective in repelling it initially. And exterior gloss paints resist the pick up of dirt less than smoother paints.
- Mould – It is easy to tell if it is dirt you have or mold. Add a few drops of regular household bleach to the discoloured area. In case it goes away, chances are that it is mildew. Otherwise, it is likely to be nothing more than muck. Wipe out mildew using a solution of household bleach (one part bleach, three parts water) or a special mould and mildew remover. Then wipe it, dry it, prepare the bare wood, and put on your top coating.
- Rusty nail stains – Take the rust off, file the nail heads, and apply a water-based all-acrylic caulk. Then spot-prime each nail head on an individual basis and apply a good latex coating to the surface.
- Lost glossiness on gloss paint – Scrape or sand the finish to eliminate the wrinkles in the paint, then repaint it. Ensure that the topcoat is applied when the lower coat of paint or primer is completely dry.
Need Help With Painting Exterior Wood?
To learn more about the outdoor paint for wood and its application, call our team of experts at Knapp Painting LLC, who are available at all times to provide advice on projects and recommend the products to use.
FAQs
Select hot and dry (50-85 F) days, with low humidity, and no rainy prediction for 48 hours. Early morning is a good time to paint because it will be hot in the afternoon and humid in the evening.
Wipe with TSP or pressure cleaner, scrub off loose paint, and use caulk to seal up. Totally prime bare wood for adhesion and protection.
Yes, use exterior primer on raw or already painted wood to get an even surface. Only intact and sound paint can be skipped.