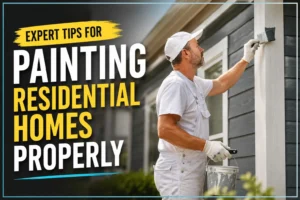
Owning a home in Cleveland means dealing with some very tough weather. Your house takes a beating from freezing winters and humid, hot summers every year. Over time, you might notice your once beautiful siding starts looking worn and tired. These house paint problems are more than just an ugly eyesore for your neighbors. If you ignore them, small flakes can turn into big and expensive wood rot issues.
Knap Painting LLC knows exactly how local conditions affect the longevity of your finish in Ohio. We see failing house paint all the time while working in our local neighborhoods. Understanding why your paint is acting up is the first step toward fixing it. This article will discuss the most frequent issues homeowners face with their exterior surfaces today, focusing on helping you spot trouble early and solve it.
Why Does Your Paint Blister and Bubble
Blistering occurs when the paint film pulls away from the surface beneath. You will notice small or large bubbles that appear to contain air. This often happens when you paint in direct sunlight on a hot day. It dries too rapidly, causing solvent vapors or moisture to be trapped in the upper layer. These gases expand when heated ultimately pushing out the paint from the wall.
Moisture is another huge factor that causes paint blistering to ruin your hard work. If water gets behind the siding, it tries to escape as the sun warms up. That vapor pressure creates bubbles that eventually pop and leave the wood totally exposed. You must address the water source before you ever think about picking up a brush. Fixing the leak ensures your new coat of paint will actually stay put.
How to Fix Paint Blisters
You need to scrape off all the loose bubbles with a sharp putty knife. Sand the edges until they feel smooth so the repair looks completely seamless. Once the area is clean, apply a high-quality primer to help with paint adhesion. Make sure the surface is dry and avoid painting in the middle of a hot afternoon.
Dealing with White Chalky Residue
If you touch your siding and see white powder on your hand, you have paint chalking. This happens when the paint binder breaks down because of long-term sun exposure. All paint will chalk eventually, but cheap paints fail much faster than premium brands. The pigment releases from the film and creates a dull, faded look on your home. It can even wash down and stain your bricks or stone foundation.
While a little chalking is normal, heavy powdering means your protective layer is gone. You cannot simply paint over this dust because the new layer won’t stick. The new paint will just peel off within a year if you skip cleaning. Professional surface preparation is the only way to ensure your home looks great for a long time. You have to remove that powder to get a solid bond again.
How to Prevent Excess Chalking
Use a pressure washer or a stiff brush with soapy water to scrub the walls. Rinse the siding thoroughly and let it dry for at least two full days. Choose a high-quality paint with great UV resistance to prevent this from happening again soon. Quality materials cost more upfront but save you money by lasting much longer in the sun.
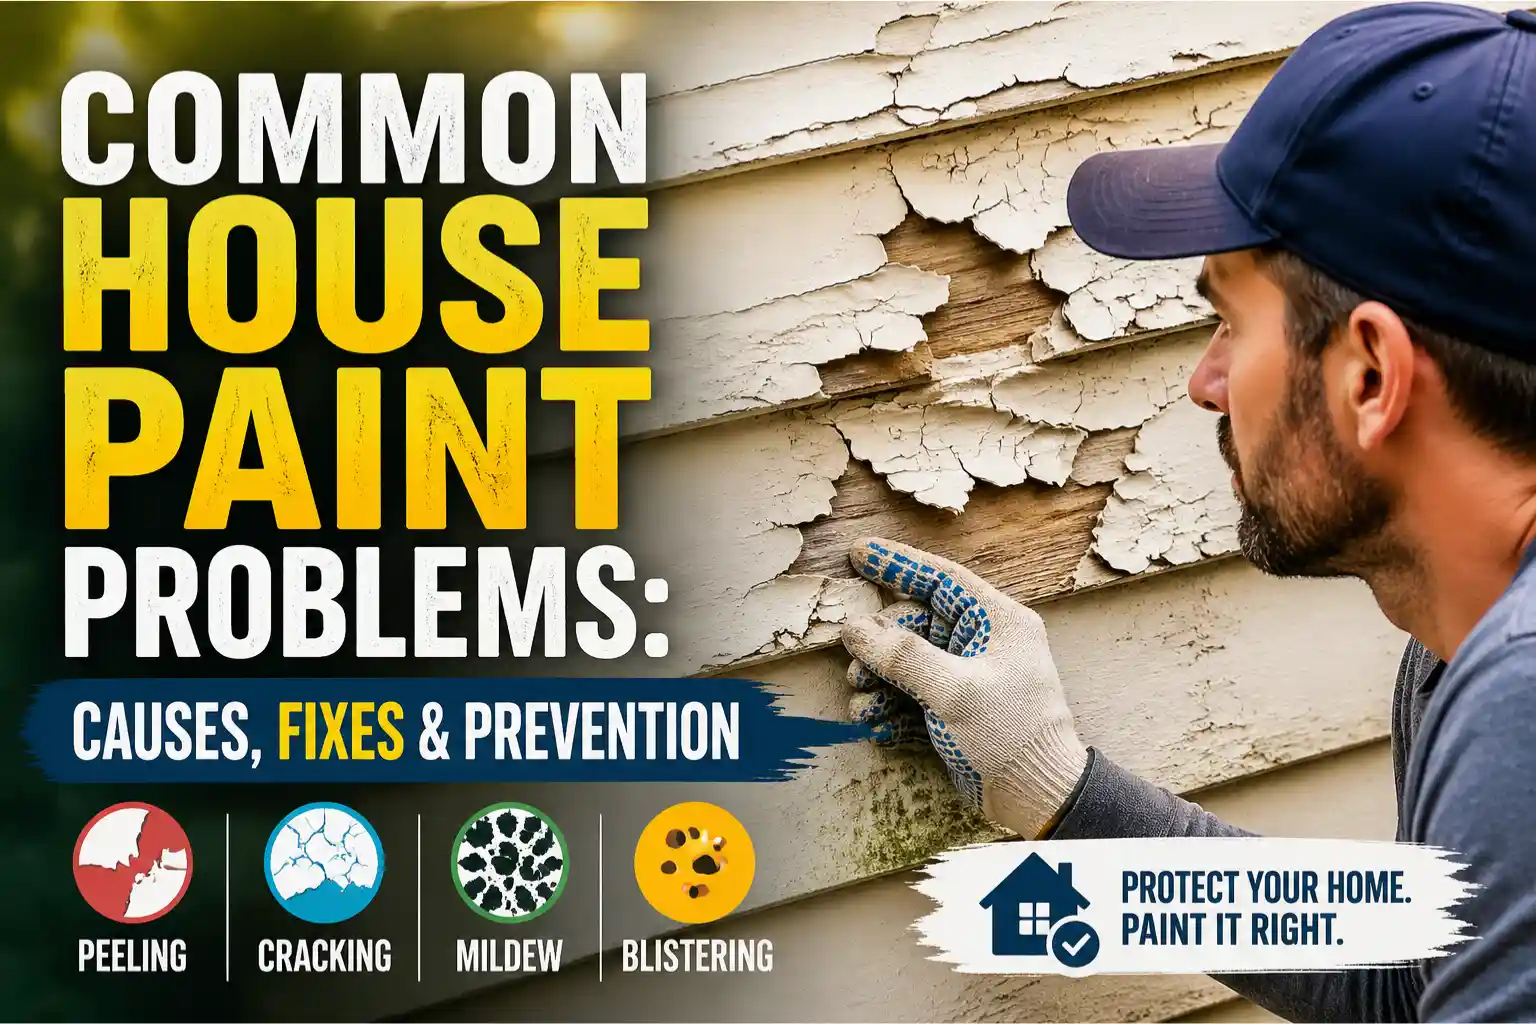
Understanding Exterior Paint Cracking
Small hairline cracks are often the first sign that your exterior paint cracking is starting. These tiny splits look like a dry lake bed or the skin of an alligator. They happen when the paint loses its flexibility as it gets older and very brittle. The paint can no longer expand and contract with the changing temperatures in Cleveland. Once a crack opens, water gets in and starts damaging the structure underneath.
If you don’t fix these cracks, they will eventually turn into deep, flaking sections. This allows moisture to soak into the wood, which leads to mold and rot. Deep cracking usually means there are too many layers of old paint on the house. The weight of the old layers pulls the new paint away from the surface. You must remove the failing layers to get back to a solid base.
How to Solve Cracking and Flaking
The best fix is to remove all the old, brittle paint with a scraper. Use a power sander to get down to the bare wood for the best results. Apply a flexible primer that can handle the natural movement of your home’s siding. Using a high-grade acrylic latex paint will provide the best durability against future cracking.
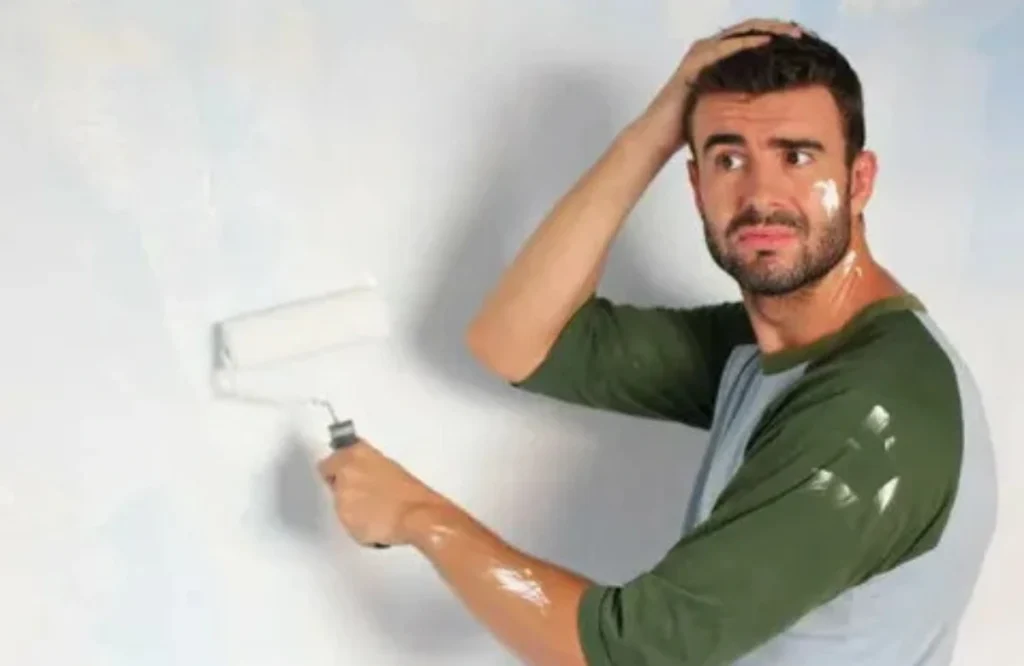
The Nightmare of Peeling Exterior Paint
Peeling is perhaps the most frustrating issue for any homeowner to deal with today. You will see large strips of paint curling away from the wood or masonry. This usually happens because of poor surface preparation or painting over a wet surface. If the wood was damp when painted, the bond will fail very quickly. Peeling exterior paint is a sign that the paint never grabbed hold properly.
Sometimes peeling happens because of “inter-coat failure” between two different types of paint. If you put oil-based paint over latex, it will not stick for very long. The same thing happens if the surface was dirty or greasy when you started. You need a clean, dry, and dull surface for the paint to stay attached. Proper cleaning is the most important step in any professional painting project.
How to Stop the Peel
Look for the source of any moisture (leaky gutters or lousy caulking around windows). Remove any loose material and sand the wood until the edges are flat. Most importantly, always use a primer that is specific to the material you are attempting to paint. The best way to avoid peeling is to keep moisture from getting into your walls.
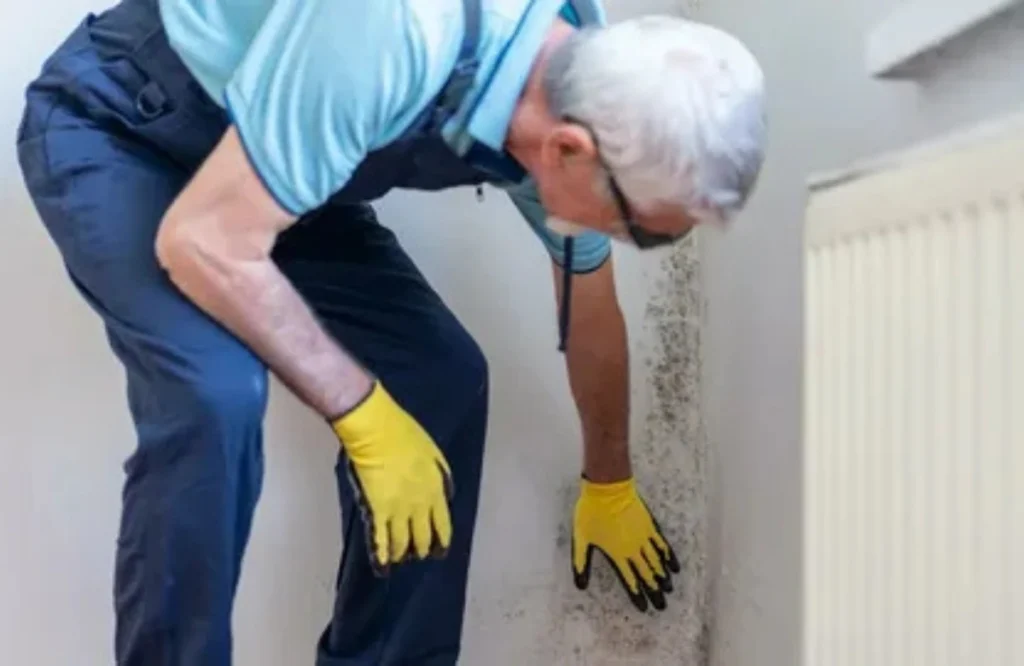
Prevent Mildew and Mold Growth
Mildew appears as black, grey or green spots on the dark parts of the walls. It grows well in wet places with limited exposure to the sun during a bright day. It is the most common problem, which occurs when the drainage is not good or overflowing water from your GI pipes keeps your siding wet enough for mold to grow. Mildew will simply grow through the new layer if you paint over it. This destroys the appearance of your house and can even lead to the development of health problems.
To test for mildew, dab some bleach onto the dark spots. If the color disappears, it is mildew and not just ordinary dirt. Get rid of the fungus before you put on new primer or topcoat. Most up-to-date paints even have added chemicals that help combat mildew in humid environments. The right product will keep your home looking new and clean for many years.
Cleaning for a Fresh Start
The solution is a ratio of three parts water and one part bleach; this will kill the mold spores. Apply your mixture to the affected areas and allow it to sit for approximately ten minutes. Rinse it with clean water and leave the siding to dry out completely. Always use paint specifically designed for high-moisture situations to stop any future growth.
Trust the Pros at Knap Painting LLC
Managing house paint problems on your own can feel like a never-ending uphill battle. Without the right tools and experience, you might end up making the damage worse. Our team understands the specific challenges that Cleveland weather puts on your residential property. We focus on deep cleaning and thorough sanding to make sure every job lasts. We take pride in giving your home a finish that stands the test of time.
Don’t let failing house paint lower your curb appeal or damage your beautiful home. Knap Painting LLC provides expert service with a focus on quality and honest communication. We use the best materials and techniques to ensure your siding stays protected and bright. Let us handle the hard work so you can enjoy a perfect home. Call us today to schedule your free estimate and start your transformation.
FAQs
How long should a professional exterior paint job last?
A good job usually lasts five to ten years depending on the material. Quality prep work and premium paint are the keys to making it last.
Is it okay to paint a house if the wood is a little damp?
Nope, you never want to paint on wet wood because that will peel right away. Be sure the surface is thoroughly dry to allow the paint enough time to adhere.
Can I just paint over old, cracking paint?
Using a new layer over cracks is wrong, as the final coat will soon start to peel off. You need to scrape and sand the old paint off to get a smooth base.