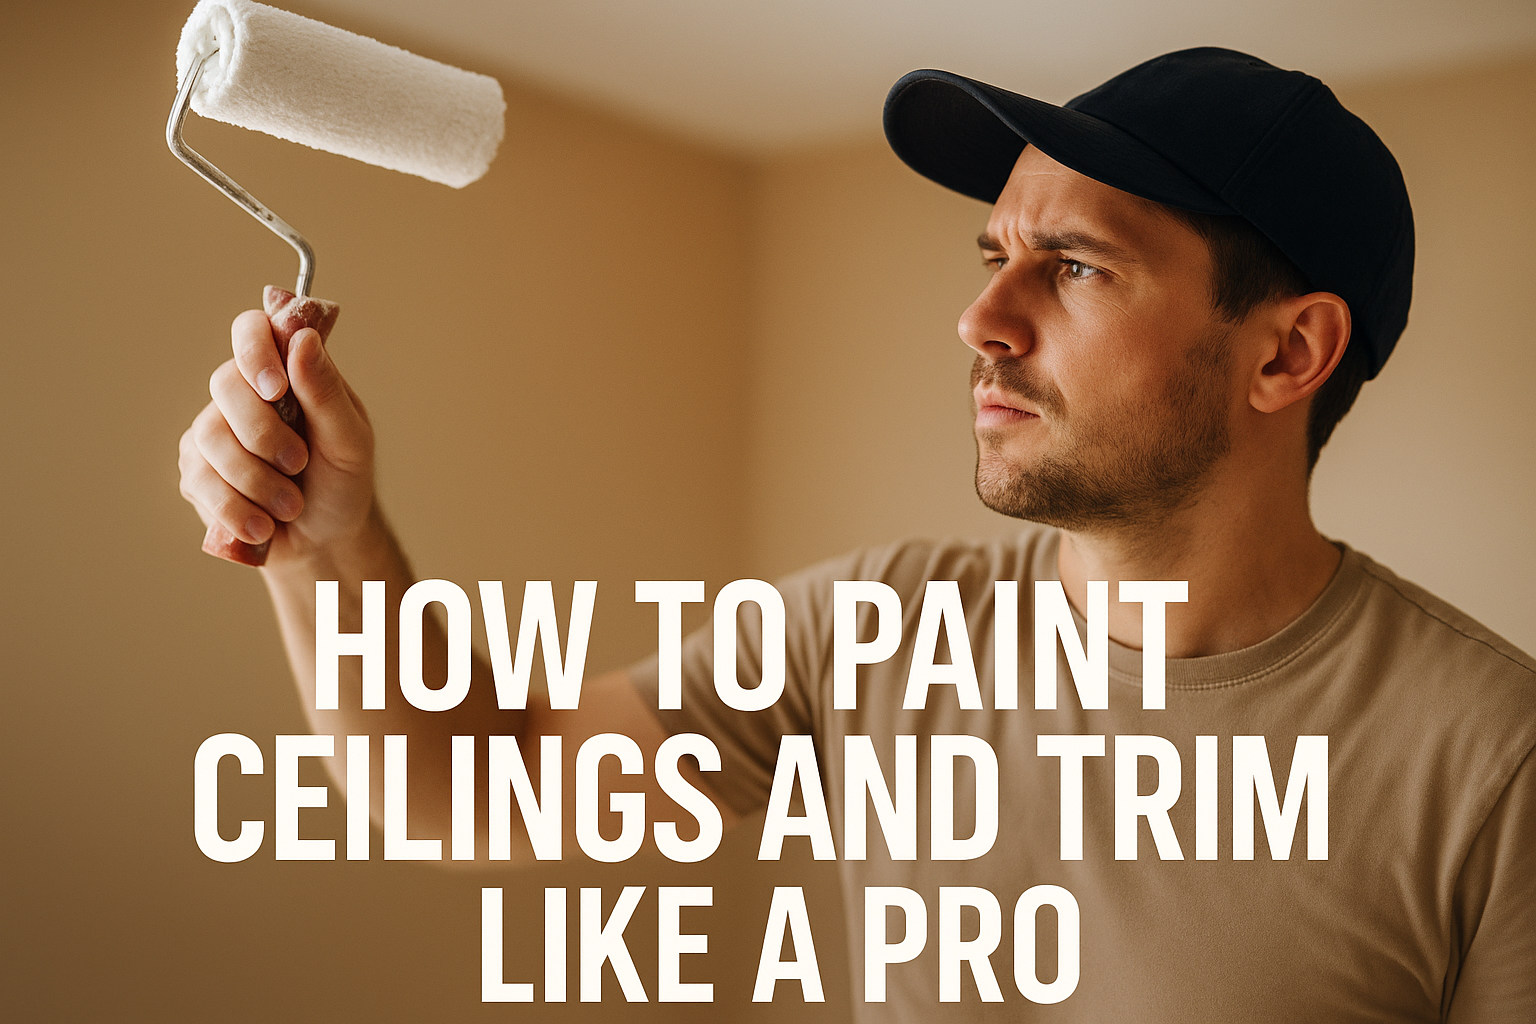
Painting your home can make a huge difference in how your space looks and feels. But ceilings and trim are two areas that many people struggle with because they need patience, the right tools, and the right steps.
The good news is that you can achieve a clean and professional finish without years of experience. Having the appropriate tips and tricks, every person can be shown how to paint ceilings and trim in a professional way and turn a room into a new, bright, and shiny one.
Why Painting Ceilings and Trim the Right Way Matters
The ceilings and the trim are easy to paint and it adds a significant amount to the appearance of your house. Smooth edges and straight lines, even without repainting the walls, can make any room look new. This is why before people start painting, many are interested in getting tips on how to paint the trim like a professional or how to paint the molding.
What You Need to Know Before You Start
The first few things to know before an individual picks up a brush include understanding when to begin with the trim or the walls, the best tool to use, and avoiding drips or streaks. The ability to do the right things will help you avoid stress and get the results that you will love.
Paint Ceilings and Trim Like a Pro
Ceiling and trim painting is not an easy task; nevertheless, it demands a proper approach. Here you will have everything to know. These points will allow you to possess a neat, sharp, and pro-appealing space.
Step 1: Prepare the Room
Good preparation makes the job easier and faster.
- Move furniture away from the walls
- Cover the floor with drop cloths
- Remove dust and cobwebs from the ceiling and trim
- Take off outlet covers and vent covers
When you are painting a full room, do the preparation and you will avoid messing it and also your lines will remain clean.
Step 2: Decide What to Paint First
The most frequent inquiry made by numerous house owners is: Walls or trim first?
Most of the professionals recommend that you paint the ceiling first then the walls, then the trim.
This will help prevent splatter on the already completed parts and will enable you to have cleaner lines.
Using trim and walls, then it is either paint the wall first or the trim first. The best solution is: first paint the trim. To paint the wall, the Trim also has to be polished and it is easier to conceal later on during the process of painting.
Step 3: Gather the Right Tools
Using the right tools makes a huge difference in how smooth your finish looks.
You will need:
- Angled brush for trim
- Roller for ceilings
- Painter’s tape
- Drop cloths
- Sanding block
- Primer
- High-quality paint
For trim, choose the best baseboard paint, usually semi-gloss or high-gloss for a clean finish that is easy to wipe.
Step 4: How to Paint a Ceiling the Right Way
It might be a challenge to paint a ceiling, particularly when one is concerned about streaks. The easiest method to have a smooth finish is as follows:
Use the Right Roller
An average nap roller is the best. It has a sufficient amount of paint without excessive texture.
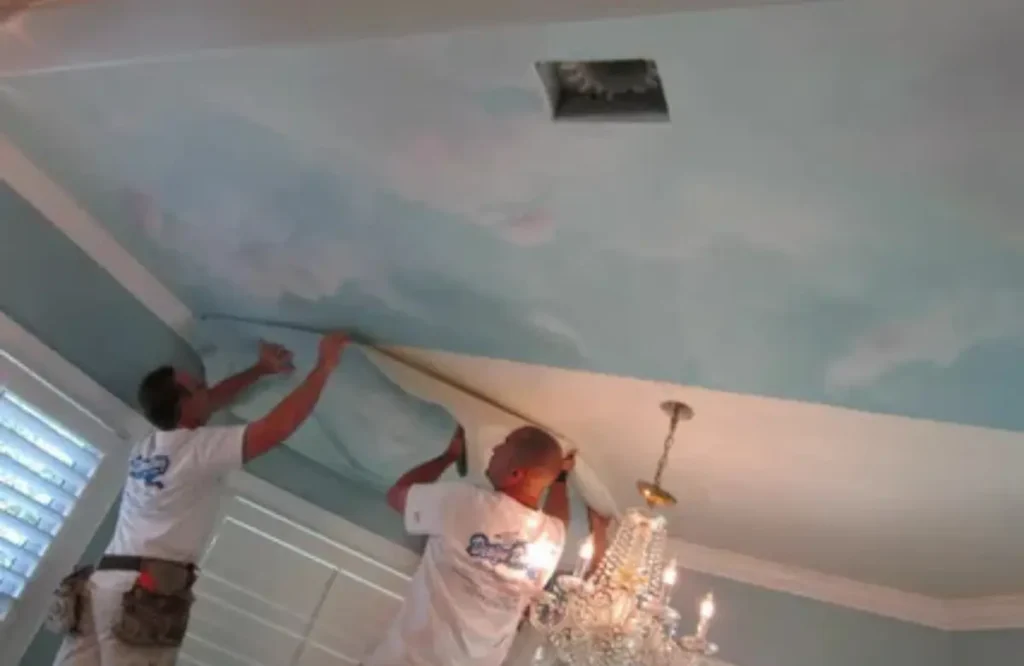
Cut in the Edges First
Mark around the edges of the meeting of the ceiling and the wall with a brush. Work slowly to avoid drips.
Roll in Straight Lines
Begin in a corner and roll straight and smooth. The intersection between each section is beneficial in preventing streaks. To prevent shadows from revealing your roller marks, always roll facing the source of light.
Apply Two Coats
There are usually two coats on ceilings since they receive more light. The second finish is much brighter and cleaner.
Step 5: How to Paint Trim Like a Pro
Baseboards, door frames, and window frames are trim. These spheres are not enormous but still need elaboration. What you need to know is how to paint trim, how to paint molding or you simply want the best method of painting trim. Follow these steps.
Clean and Sand the Trim
Trim gathers dust, fingerprints and dirt. Clean it with a towel, and lightly sand until gloss goes. This makes the stick of painting easier.
Use Painter’s Tape
Stick a tape up the wall over the trim. Hard press is to prevent leakage of paint under the tape.
Prime the Trim
Primer is significant in cases where your trim is old, glossy or stained. It assists in achieving a smooth even finish.
Use an Angled Brush
An angled brush will assist you in getting corners without having to touch the wall. The brush has to be dipped lightly so that it is not loaded with paint.
Paint in Long, Smooth Strokes
Short strokes leave streaks. Long strokes assist in the levelling of the paint.
Let the First Coat Dry
Don’t rush. Trim takes time to dry out completely then apply another coat. Two coats usually look best.
Step 6: How to Keep Your Lines Clean
Clean lines make a paint job look professional.
Try these tips:
- Remove painter’s tape while the paint is still slightly wet
- Keep a damp cloth nearby to wipe mistakes
- Hold your brush firmly but relaxed
- Use slow, steady motions, not quick ones
Step 7: What Paint Finish Works Best
For ceilings, most people choose flat or matte paint because it hides imperfections.
For trim, semi-gloss or gloss is the top choice because:
- It’s shiny
- It’s easy to clean
- It shows the details of the trim
Step 8: Fixing Common Painting Mistakes
Sometimes drips, streaks, or missed spots happen. Here’s how to fix them:
- Drips: Wait until dry, sand lightly, repaint
- Uneven spots: Add a second coat
- Tape bleed: Use a small brush to touch up
With patience, every mistake can be fixed quickly.
Step 9: When Painting Trim and Ceilings Matters Most
Painting trim and ceilings is perfect when:
- You’re refreshing an old room
- You’re preparing a home for sale
- You want a cleaner, brighter space
- You’re changing wall colors
Fresh trim and ceilings make your whole home feel new.
Benefits of Painting Ceilings and Trim Properly
Makes the Whole Room Look Cleaner
Even if you don’t repaint the walls, fresh trim and a clean ceiling make the room feel bright and updated.
Boosts Home Value
Buyers notice clean lines and fresh paint. Good trim work shows your home is well-kept.
Protects Surfaces
Paint acts like a shield that protects wood and drywall from damage.
Turns Old Rooms Into Fresh Spaces
Fresh trim can make old rooms look modern and tidy.
Useful Tips for Painting Ceilings and Trim
1. Use High-Quality Paint and Brushes
Cheap paint can streak or fade. High-quality products last longer.
2. Don’t Skip the Prep Work
Prep is the foundation of a clean paint job.
3. Keep Lighting Bright
Good lighting helps you see drips and missed areas.
4. Always Let Coats Dry Before Repainting
Rushing leads to smudges and streaks.
5. Learn From Pros
Look up painting trim tips, tips for painting molding, and similar guides to keep improving.
Conclusion
You might think that ceilings and trim are difficult to paint, but having an idea of how to do it, it is a simple process that is fulfilling. With the appropriate equipment, straight lines, sedimentary lines and time, one can produce results that will make them feel that it was done by a professional.
To explore more helpful home tips and ideas, visit Knapp Painting.
FAQs
Most pros paint trim first, then the walls. It makes taping and touching up easier.
Apply strokes with an angled brush, clean and semi-gloss paint to make the surface appear smooth.
Apply parallel strokes of the rollers and make sure to paint in the direction of the primary source of light.
The best paint on a baseboard is the semi-gloss or high-gloss paint as it is easy to clean.
Apply painter’s tape, a steady hand and an angled brush to clean edges.