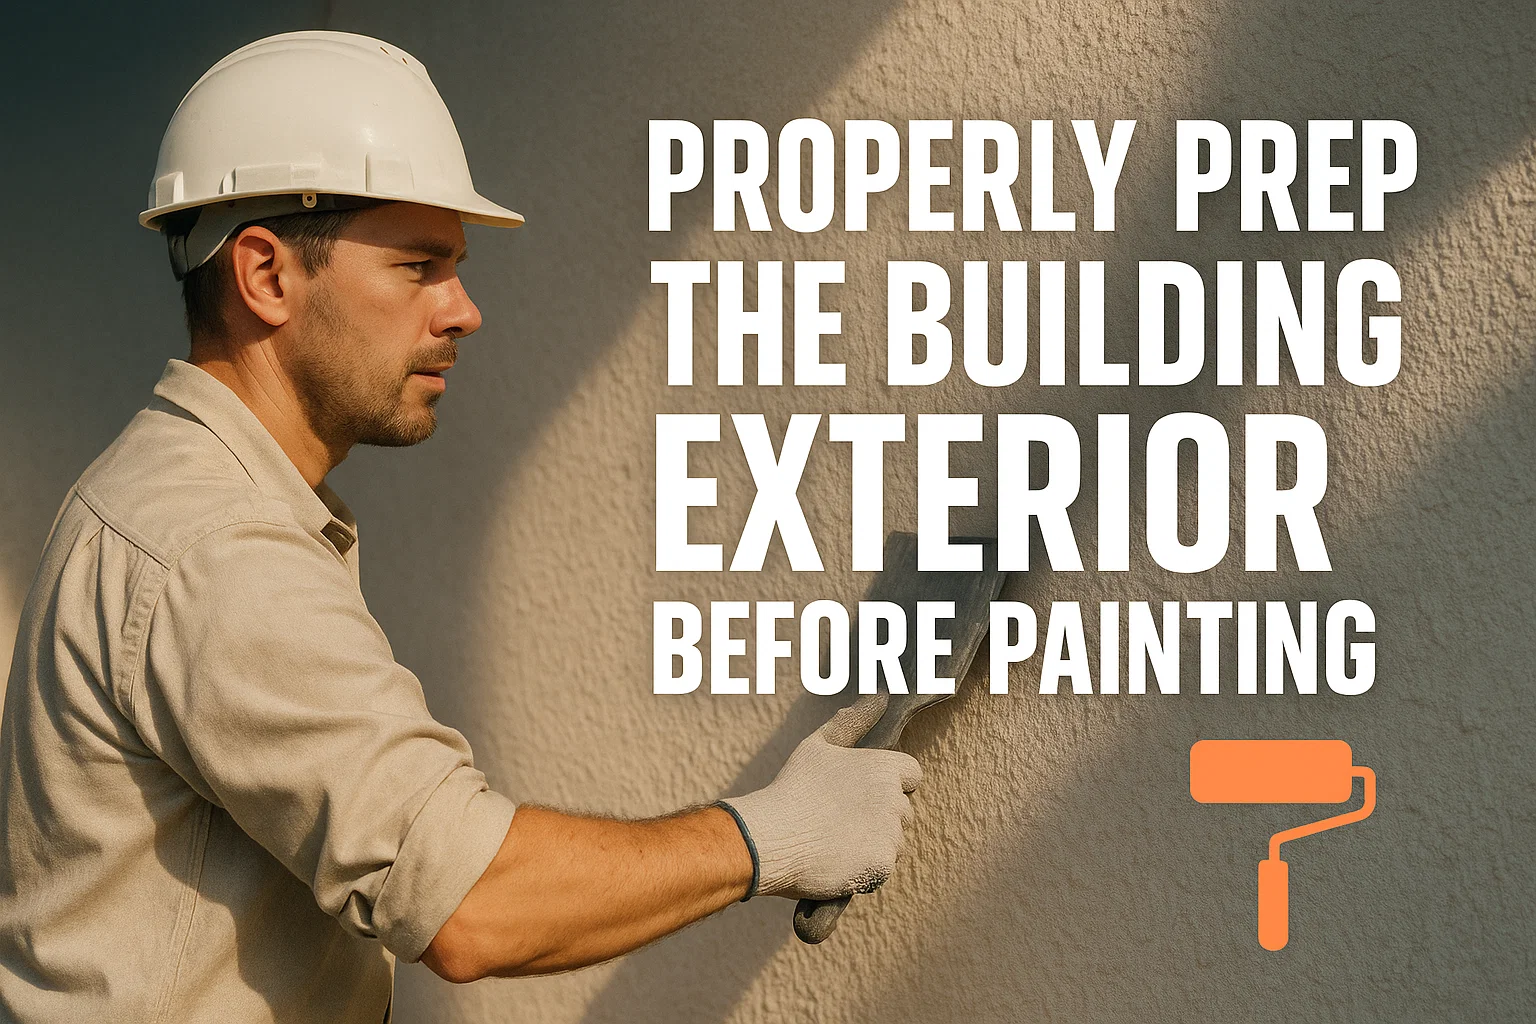
Before any paint touches the walls of a building, there’s one step that decides how long that paint will last: proper surface preparation. Most property owners are concerned with what color to use or what type of paint. The secret recipe of a durable and beautiful exterior finish is the preparation job.
No matter whether you are updating a building of offices, a shopping area, or a high-rise, it is important to understand how to prepare a house to paint outside. Premeditation will give you good prep, thereby avoiding peeling, fading and cracking, so that your investment will be beautiful over the years. We are going to do each of these steps to paint your building properly.
Why Exterior Paint Prep Is Crucial for Long-Lasting Results
How Proper Prep Improves Paint Adhesion and Weather Resistance
It is best to prepare the surface so that the paint adheres. A clean and dry surface that is smooth will enable the bonding of paint until it is dry, before peeling off. Even the finest quality paint is unable to stick normally when there is dirt, dust, or loose paint on the surface. Prepping also enhances resistance to moisture and harsh weather conditions as well both of which can damage paint more rapidly on unprepared surfaces.
Common Problems Caused by Skipping Prep Work
Prep work can be skipped, resulting in uneven coverage, brush marks, or bubbles of paint. As time progresses, such problems become expensive to repair. Blistering and chipping of the paint occur when moisture is trapped behind walls that have not been well prepared. Failing to fix wall damage or mold before painting can also reduce the life of your paint by a large margin.
Benefits of Professional Exterior Surface Preparation
Professional painters realize that 70 percent of the job is in prep. Their tools, cleaning solutions and primers are of high quality and they suit your building material. This makes it have a smoother application, increased longevity and a clean appearance. Adequate exterior paint preparation is a cost-saving venture in the long run.
Tools and Materials Needed to Prep a House for Painting the Exterior
Essential Cleaning and Scraping Tools
You will require the use of wire brushes, paint scrapers, sanding blocks, and putty knives to remove the old paint. Due to large buildings, a power washer will increase the speed of cleaning. Hard-to-remove spots may require a heat gun or chemical stripper.
Primers, Fillers, and Sealants for Exterior Walls
Porous surfaces should be sealed and to enhance the adhesion of the paint, high-quality primers are required. Cracks or gaps are sealed with fillers and caulks and the moisture is shielded with sealants. Always select exterior-grade products that are made to withstand weather variations.
Safety Equipment for Outdoor Painting Projects
Don’t forget safety. Wear gloves, dust masks, safety glasses and strong ladders or scaffolds. In the case of tall buildings, people need safety harnesses and anti-slip shoes. Safety gear is necessary to guarantee efficiency and minimize risks during the preparation process.
Step-by-Step Guide: How to Prep a House for Paint
Inspecting the Exterior for Damage or Mold
Begin by inspecting your walls, trim and siding to verify cracks, holes, rotting, and mold. These early damages can be prevented. Mildew and mould are to be eliminated with the help of a water-bleach mixture or a commercial cleaner.
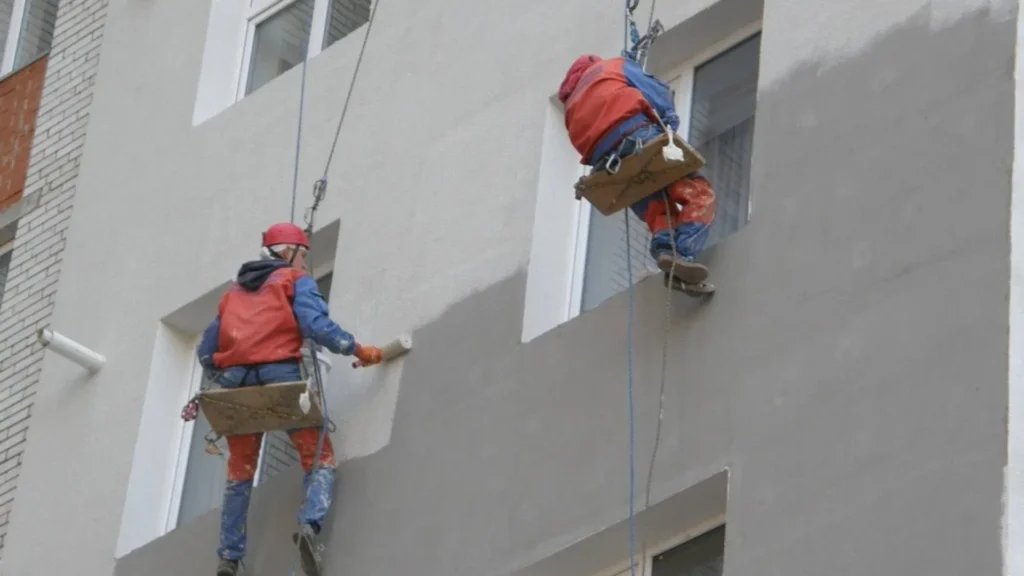
Cleaning Walls with Pressure Washing or Hand Scrubbing
Then wipe your walls. Clean using a pressure washer to eliminate dirt, flaked paint and grime. In the case of sensitive regions or timber siding, it is effective to soften hand scrubbing with soapy water. Allow surfaces to dry out before proceeding to the next stage.
Removing Old Paint, Dirt, and Debris Before Repainting
Scrape away any peeling or loose paint. Rub sand onto smooth the edges. By taking off the old, flaking layers, you will avoid any subsequent peeling, and your new layer will look even. The next thing would be to clean with a soft cleaner to get the dust away.
Preparing Exterior Surfaces Based on Material Type
Painting Exterior Wood Siding – Prep Steps for Smooth Results
Removing loose paint with a scraper is the first step to start the painting of exterior wood siding. Sand the surface to remove the splinters and come up with a smooth surface. Small holes or cracks should be filled using exterior wood filler, and the surface should be primed with an excellent choice of wood primer.
How to Prep Stucco and Brick Walls for Paint
In the case of stucco, cracking can be checked and repaired with masonry filler. Wash off the walls using a pressure washer and leave them to dry completely. In the case of a brick, it can be cleaned with the help of a stiff brush. Use a masonry primer to ensure more adhesion.
Prepping Metal or Vinyl Surfaces for Exterior Painting
Wipe down with a degreaser then sand a little to eliminate rust. Apply rust-inhibiting priming paint before painting. In the case of vinyl siding, it should be washed and dried. Apply paint specifically designed to be used on vinyl and this will not peel or warp.
Fixing and Repairing Walls Before Exterior Paint Application
Filling Cracks and Gaps with Weatherproof Caulk
Seal cracks and gaps between windows, doors, and seams using a high-quality and weatherproof caulk. This also avoids the seepage in of moisture which aids in the prolongation of paint.
Repairing Rot or Water Damage in Wooden Exteriors
Where the rot is rotting, the wood should be filled with epoxy fillers. Damaged wood can be painted which may entrap moisture which resulting in further deterioration.
How to Ensure an Even Surface Before Priming
Following the repair, sand was filled in the holes to create a similarity with the rest of the wall. This is essential in the attainment of a smooth paint finish. A smooth and even surface is necessary so that the primer and paint coat can be perfectly combined.
Priming and Sealing Tips for Exterior Paint Prep
When to Use Oil-Based vs. Latex Primer
Oil primers are favorable to bare wood or high moisture places. Latex primers dry quicker and can be used on most surfaces, including stucco, vinyl or aluminum. Select the appropriate primer based on the type of your wall and the local weather.
How to Apply Primer Evenly on Exterior Surfaces
Large areas should be used with a roller or sprayer, and edges or trim with a brush. Place the primer in thin layers. Before adding another coat of paint, leave the first one to dry.
Importance of Primer for Long-Term Paint Protection
Primer seals the surface, prevents stains and provides a stable base on which the paint can be applied. It also makes the adherence of paint more effective and stops color disappearance. Even high-quality paint can peel or dry out quickly without the presence of the primer.
Weather Considerations Before Painting Exterior Walls
Ideal Temperature and Humidity for Exterior Painting
The optimum amount of time paint adheres to the material is when temperatures are between 50°F and 85°F and there is low humidity. Hot weather will result in the drying of paint too quickly, whereas cold weather will influence the adhesion.
How Rain and Sun Exposure Affect Paint Prep
Do not prepare or paint on rainy days. The moisture that is trapped between the paint can result in blistering. When the wall has access to the sun, it should be painted in the morning or in the evening.
Timing Your Project for Best Results
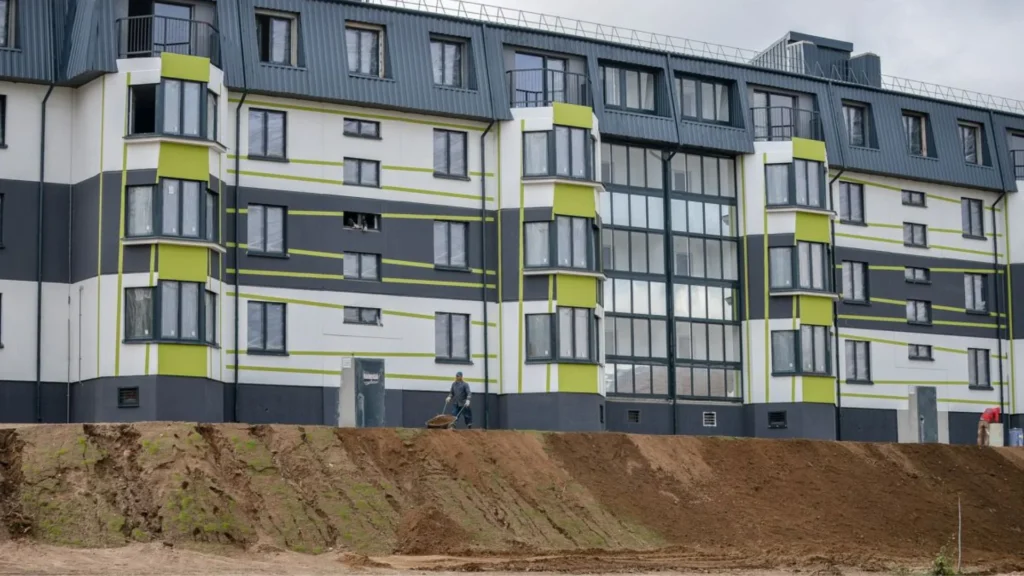
The exterior paint jobs are normally better during the spring and fall seasons. The weather is friendly, and all the surfaces dry well and the paint does not crack.
Cost Factors for Exterior Paint Preparation
Average Cost to Prep a House for Exterior Painting
Depending on the exterior paint preparation, it costs between 1 and 2 dollars per square foot. These involve cleaning, scraping, sanding and priming. Smaller or broken buildings can be costly because they will require more repair.
Labor vs. Material Costs in Exterior Paint Prep
Approximately 60-70 percent of the total prep costs are labor. The rest consists of such materials as cleaners, sandpaper, primers, and caulk. Professionals are employed to do faster and reliable prep work.
How Proper Prep Reduces Future Maintenance Costs
Expensive repaints would be avoided because of spending time on proper prep. A properly prepared surface can increase the life of paint by 5-10 years and this saves time and money on repairs.
Pro Tips to Speed Up Exterior Paint Prep Without Cutting Corners
Efficient Cleaning and Drying Techniques
Clean by power washers to clean up large areas. Between steps, dry surfaces should be used with fans or sunlight.
How Professionals Use Paint Machines for Exterior Prep
Painters who are professionals usually work with paint machines to apply primers or cleaning agents uniformly. These types of tools ensure of evenness of coating, as well as time-saving hours of manual labor.
Time-Saving Tools for Large Building Exteriors
The use of poles such as extension poles, pressure sprayers and paint scrapers that have adjustable handles helps in exterior preparation; this is more efficient and safer than using a pole on tall buildings.
Final Steps Before Applying Exterior Paint
Double-Check Wall Cleanliness and Repairs
Check all walls, make sure that they are clean, smooth and dry. Repairs on cracks or patches.
How to Mask Windows, Doors, and Fixtures
Apply painter’s tape and plastic to tape windows, doors, lights, and fixtures. This maintains clean lines of paint and eliminates sloppiness.
Ensuring a Dust-Free and Dry Surface Before Painting
Wipe walls using a dry cloth/tack rag to remove fine dust before [painting]. It is also advisable to paint when the surface is absolutely dry.
Conclusion
Looking forward to painting your building. You may think that it is time-consuming to prepare the exterior of your building, but it is the most significant part of the task. A prepared surface will make the paint look smooth, longer lasting and your property will be safeguarded against the elements.
Each process of cleaning and repairing, priming and sealing is an addition to your investment. With proper preparation, your paint works wonders as long as years.
To learn more about professional exterior painting and prep services, visit Knapp Painting today.
FAQs
How do I prepare a concrete floor for painting?
Clean the surface, remove stains if necessary, and ensure the floor is completely dry before applying paint.
Can I paint my warehouse floor myself?
Yes, with the right tools and preparation, it’s possible to paint your warehouse floor yourself. Just make sure to follow the steps carefully.
How long will a warehouse painting operation take?
It may take 2 to 5 days, taking into account warehouse size and timing to completely dry and breathe.
How often should I repaint my warehouse floor?
It depends on the amount of foot and vehicle traffic, but generally, repainting every 2-3 years keeps the floor in good condition.
What type of paint is best for warehouse floors?
Epoxy or polyurethane paints are ideal for warehouse floors due to their durability and resistance to wear and tear.