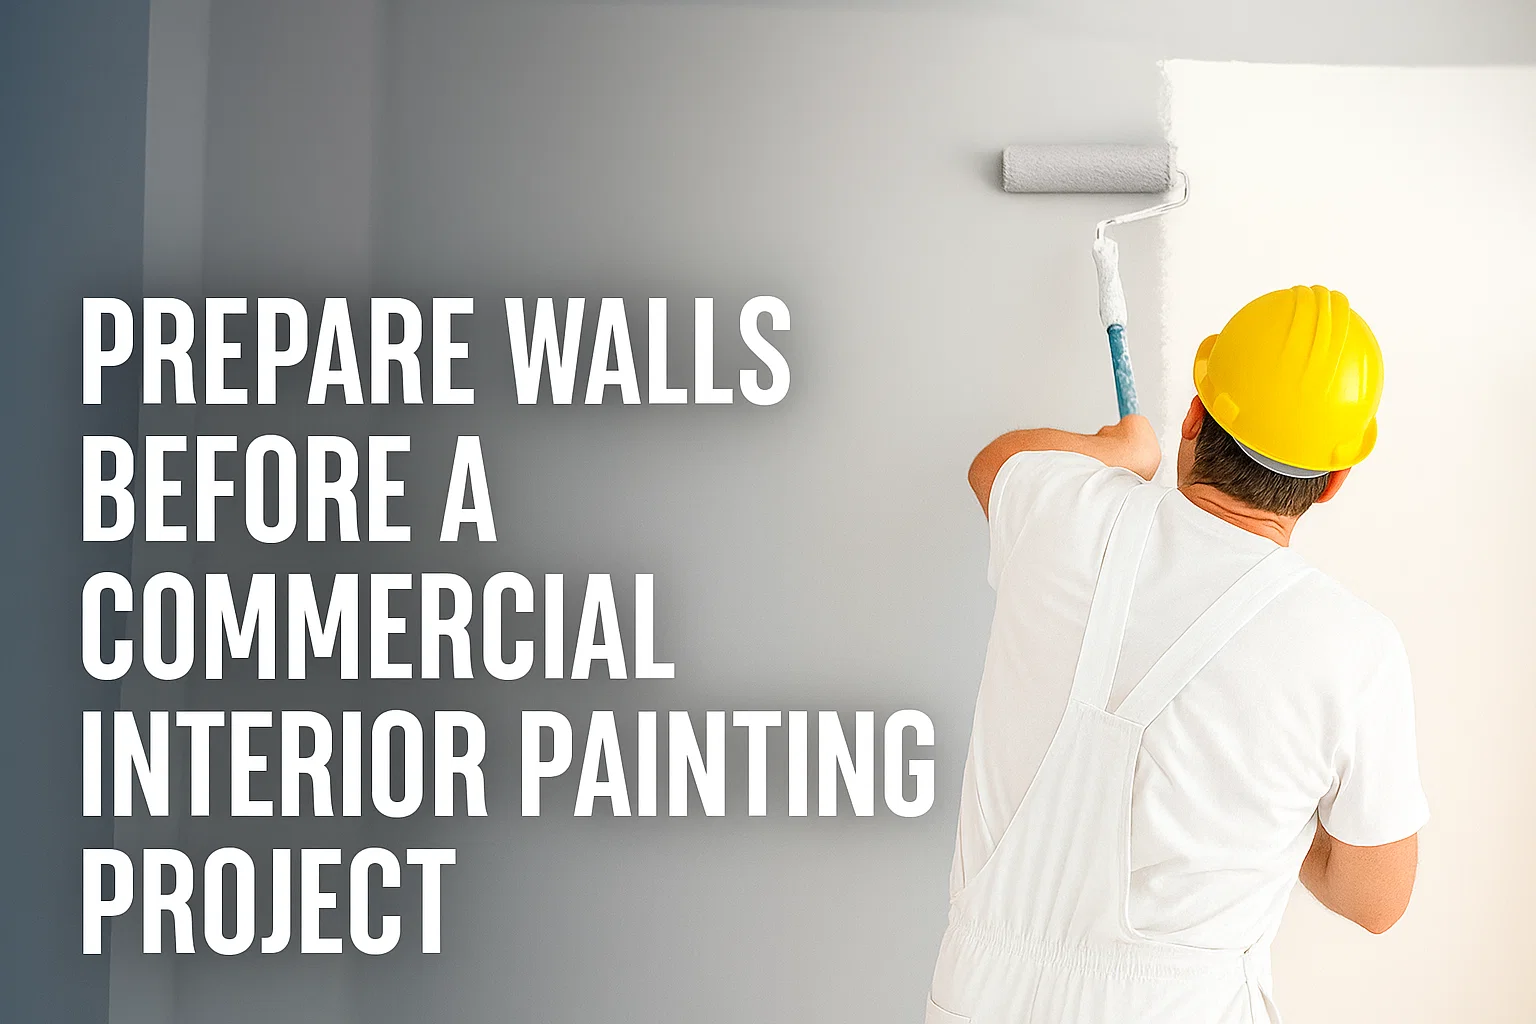
A new paint job has the potential to transform the appearance of a business premises. It will make your office, restaurant or retail area appear cleaner, brighter and comforting. However, before any paint is applied to the walls, there is one thing that is more important and that is preparation.
Proper wall preparation is the first step in achieving long-lasting paint work. Failure to do this may result in peeling of paint, coarse finishes and wastage of time. We will discuss how to prepare and paint the walls in commercial interiors painting, the required tools in this guide, and professional suggestions to achieve the best outcomes.
Why Wall Preparation Is the Key to a Flawless Paint Finish
How Poor Prep Affects Paint Adhesion and Durability
Unless the walls are cleaned or repaired before being painted, the paint will not be able to adhere. The paint can either bubble or peel after a few months due to dust, grease or moisture. This issue is revealed sooner in a business environment where the walls are more worn and damaged.
Proper preparation of the wall paint aids in the wall paint’s adherence to the surface. It stops chipping, perfectly covers and will save the cost of subsequent touch-ups. Consider preparation as creating a good foundation for your paint to last a long time.
Benefits of Prepping Walls Before Painting Commercial Interiors
There are several advantages of proper preparation:
Smooth Finish: Clean and sanded walls give a professional appearance.
Durability: Paint is longer lasting when it is applied to well-prepared surfaces.
Improved Sticking: The primer and paint adhere better to clean and smooth walls.
Saving on time: Decreased possibility of repainting or coming back to fix errors.
The right prep work can also contribute to that flawless, uniform finish that all business owners desire.
Common Mistakes People Make When Skipping Wall Prep
Other individuals attempt to save time by ignoring preparation processes; however, this usually creates more trouble in the future. Common mistakes include:
- Painting dirty or greasy walls.
- Neglecting little cracks or holes.
- Do not apply primer on dark or shiny surfaces.
- Leaving sand-patched places forgotten.
Although these mistakes will not be immediately apparent, they will soon destroy the finish and the life of the paint.
Essential Tools and Materials for Wall Paint Prep
Cleaning Supplies, Sandpaper, and Primers You’ll Need
You are required to clean up Supplies, Sandpaper and Primers.
The following is a short list of what will be required to make walls ready to paint:
- Cleaning detergent and water (weak).
- Sponge or microfiber cloth
- Sandpaper (fine and medium-grit)
- Patching compound or spackle.
- Putty knife
- Painter’s tape
- Drop cloths
- Primer (either oil or water-based)
- Brushes, trays, paint rollers.
These are useful tools that allow an easier way of setting up the room to be painted.
Safety Gear for Commercial Wall Preparation
During commercial projects, safety is a concern. Always wear:
- Chemical handling gloves.
- Sand or scrape goggles.
- Dust mask or respirator
- Safety clothing or dresses.
The equipment ensures that you are not exposed to dust, fumes, and splashes when at work indoors.
Budget-Friendly Options for Wall Prep Equipment
You do not need sophisticated tools in case you are working with a budget. Even the use of reusable drop cloths, basic sandpaper, and inexpensive primers can provide professional results. Lots of hardware stores will rent out sanders or paint machines, which will save you on large projects.
Step-by-Step Guide to Prepare Walls for Painting
How to Clean Walls and Remove Dust or Grease
Cleaning is the initial process involved in the preparation of walls in terms of painting. Wipe with soaps and water (the soaps are mild and mixed with water to clean off the dirt, grease or oil). In case of hard stains, apply trisodium phosphate(TSP) cleaner. Use a wet cloth to wipe the walls and leave them to dry out before proceeding.
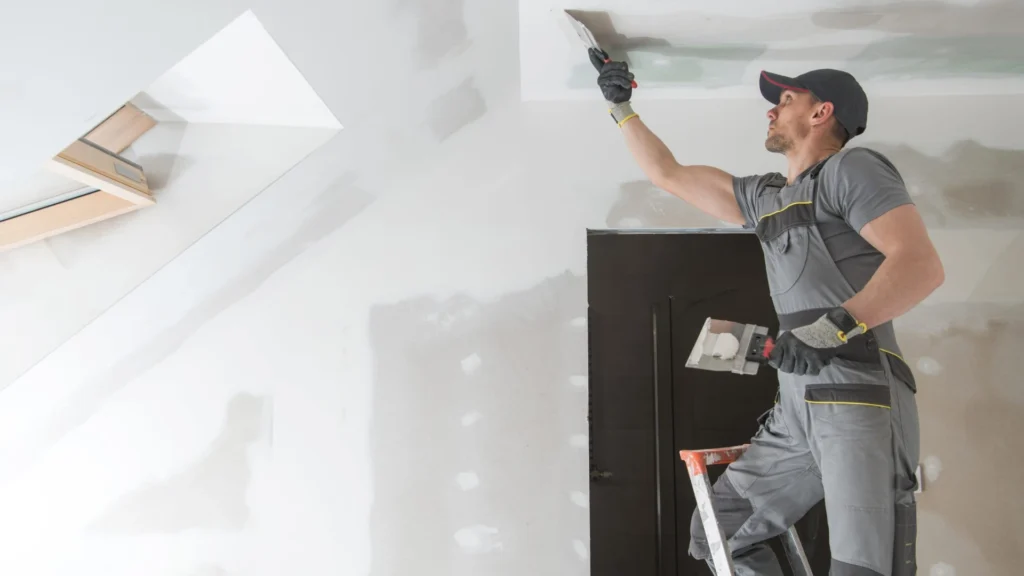
Repairing Cracks, Holes, and Uneven Surfaces
Check the walls, are they dented or not. Apply spackle or patching compound with a putty knife to fill in small cracks. In larger holes, a repair patch should be used. Once dry, sand the area smooth. This eliminates the occurrence of imperfections through the new paint.
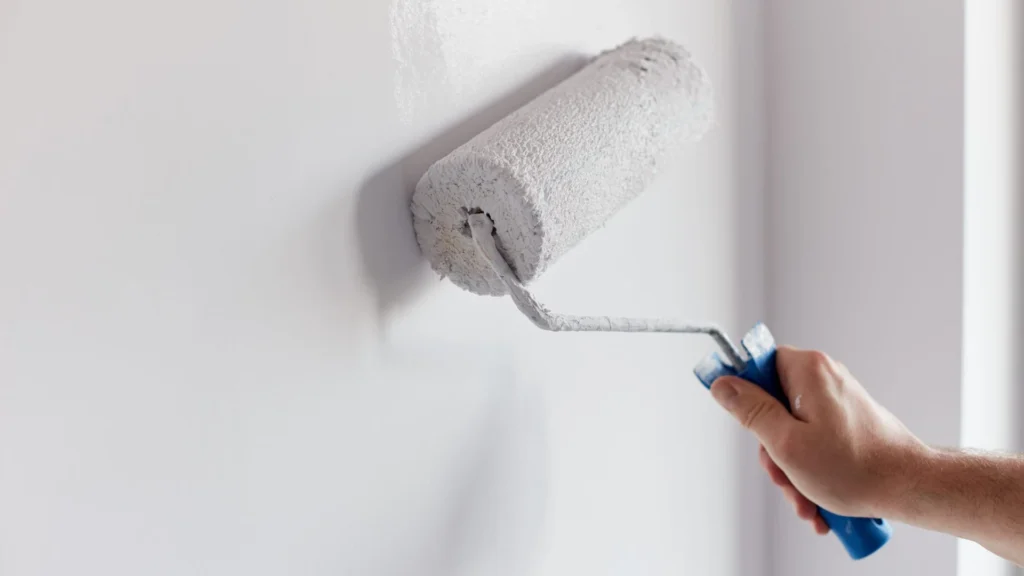
Sanding and Smoothing Walls Before Primer Application
Sanding removes the spots and the old removable paint. Apply medium-grit sandpaper to a first smooth surface and followed by fine-grit sandpaper. It should be wiped with a dry cloth at all times to get the dust off the wall. This is an essential step to the achievement of even coverage of the primer and paint.
How to Prep a Room for Painting Like a Professional
Protecting Floors, Furniture, and Fixtures
Lay drop cloths or plastic over cover. Furniture should be moved far out of the walls or be covered with plastic. Don’t leave out switches, outlets, and light fixtures which should be covered with painter’s tape or removable covers.
Taping Edges and Masking Electrical Outlets
Use painter tape on edges, trims and baseboards as a preventive measure to prevent overlapping of paint. Apply around window frames and doors to make clean and sharp lines. Tape up all electrical outlets and switches to avoid splatters of paint.
Organizing Tools for an Efficient Painting Workflow
Store equipment in a single place. Get a specific place to mix paint, rollers, and brushes. There could be organized tools that facilitate the process of painting.
Choosing the Right Primer for Interior Wall Painting
When to Use Oil-Based vs Water-Based Primer
Stained or glossy walls should use oil-based primers whereas water-based primers are used on new dry walls or light surfaces. Water-based primers are more prevalent in commercial interiors as they dry quickly and there is minimal odor.
How Primer Enhances Paint Coverage and Finish
Primer sticks the wall and provides the paint with something to cling. It makes the surface flat and prevents the bleeding through of stains. Omission of primer may result in streaked paint and patchiness of colour.
Tips to Apply Primer Evenly on Commercial Walls
- Stir the primer before use.
- Large areas should be rolled and corners brushed.
- Apply thin, even coats.
- Allow the primer to dry completely and paint.
Wall Preparation Techniques for Different Surfaces
How to Prep Drywall for Painting
Drywall is spongy and easily absorbent. Remember to sand and put a good primer. When cleaning, do not use an excessive amount of water.
Preparing Concrete or Brick Interior Walls
Walls made of concrete and brick require special attention. Wipe off the dust with a hard brush. Stuff cracks with masonry filler and apply a high-bond primer to enhance adhesion.
Steps to Paint Over Previously Painted Walls
In case of painting on old paint, a little sanding is necessary to remove the glossiness. Cleanse dust and wipe on primer in case the previous colour is dark or the paint is peeling.
How Long to Wait Before Painting After Wall Preparation
Recommended Drying Times for Primer and Patching Compounds
The average time of dry primers is 2-4 hours. Patching compounds are not to be painted until a minimum of 24 hours has elapsed. There are product instructions, which should be always followed to achieve the best results.
How Humidity and Temperature Affect Paint Results
During humid conditions, it might be a matter of time before the walls are dry. I prefer that the room be maintained at a temperature of 50°F to 85°F. Good ventilation accelerates drying and allows the paint to dry.
Signs Your Walls Are Ready for Paint Application
The walls are prepared when smooth, dry and not dusty. Feel the surface–when it is a little cold and dry, lay the brush to the task.
Professional Tips to Speed Up Wall Preparation
Using Paint Machines for Large-Scale Wall Prep
Sprayers and paint machines are useful in cleaning, priming, and painting at a faster rate. They are time- and labor-saving in case of commercial spaces. They are used by professionals to apply to a large area of the wall uniformly.
Efficient Cleaning and Sanding Techniques
- When cleaning a wall work downwards.
- High areas should be used with pole sanders.
- Clean the sanded area immediately after sanding so as not to leave behind dust.
How Commercial Painters Streamline Prep Work
Artists and professional painters work in groups. As one prepares the surface the other puts on some primer or edge tapes. This collaboration assists in accomplishing big projects at high speed without any omission.
Cost of Wall Preparation for Commercial Painting Projects
Average Cost per Square Foot for Wall Prep
Using a commercial environment, it costs an average of 0.50 to 1.50 per square foot to prepare a room to be painted. This involves washing, repairing and priming of walls prior to painting.
Factors That Influence Labor and Material Pricing
Costs depend on:
- Size of the area
- Wall type (drywall, brick, etc.)
- Number of repairs needed
- Primer and materials quality.
Larger buildings may get lower rates per square foot because of bulk pricing.
How Proper Prep Can Save Money Long-Term
A bit more money and time spent on prep will save in the future. Walls that have been well prepared are more durable in the sense that there are fewer additional repaints and reduced maintenance costs in the long-term perspective.
Conclusion
All the smooth professional paint jobs are a secret of proper wall preparation. It can be seen as an additional work but the outcomes are self-evident- cleaner lines, brighter walls and years of durability of paint.
No matter how small or big your office or a commercial area is, prep work will not go to waste because of long-lasting quality and high-end outcomes.
To learn more about professional wall preparation and painting services, visit Knapp Painting today.
FAQs
Clean the walls, repair cracks, sand the surface, and apply primer before painting.
No. Paint won’t stick properly and may peel quickly if the surface isn’t clean.
Most primers dry within 2–4 hours, but always check the product label.
Water-based primers are great for offices, while oil-based primers work well on glossy or stained walls.
Yes. Sanding smooths out rough spots and helps paint stick evenly.
It usually costs between $0.50 and $1.50 per square foot, depending on the condition of the walls.
Cleaning and priming are the most critical steps for long-lasting, professional results.